KNR, p. 197 “Blueberry Watermelon Smoothies”
If there are no paragraph separations on this page, please double-click on the title and they will appear. 🙂
Blueberries have been sighted at the store! Sheila and I both love anything made with them – muffins, jelly, jam, syrup, cookies, pancakes – you get the idea. We buy as many berries as we can while the crop is at its peak, then freeze most of them to save for later in the year. There’s a special shelf set aside in our freezer just for blueberries.
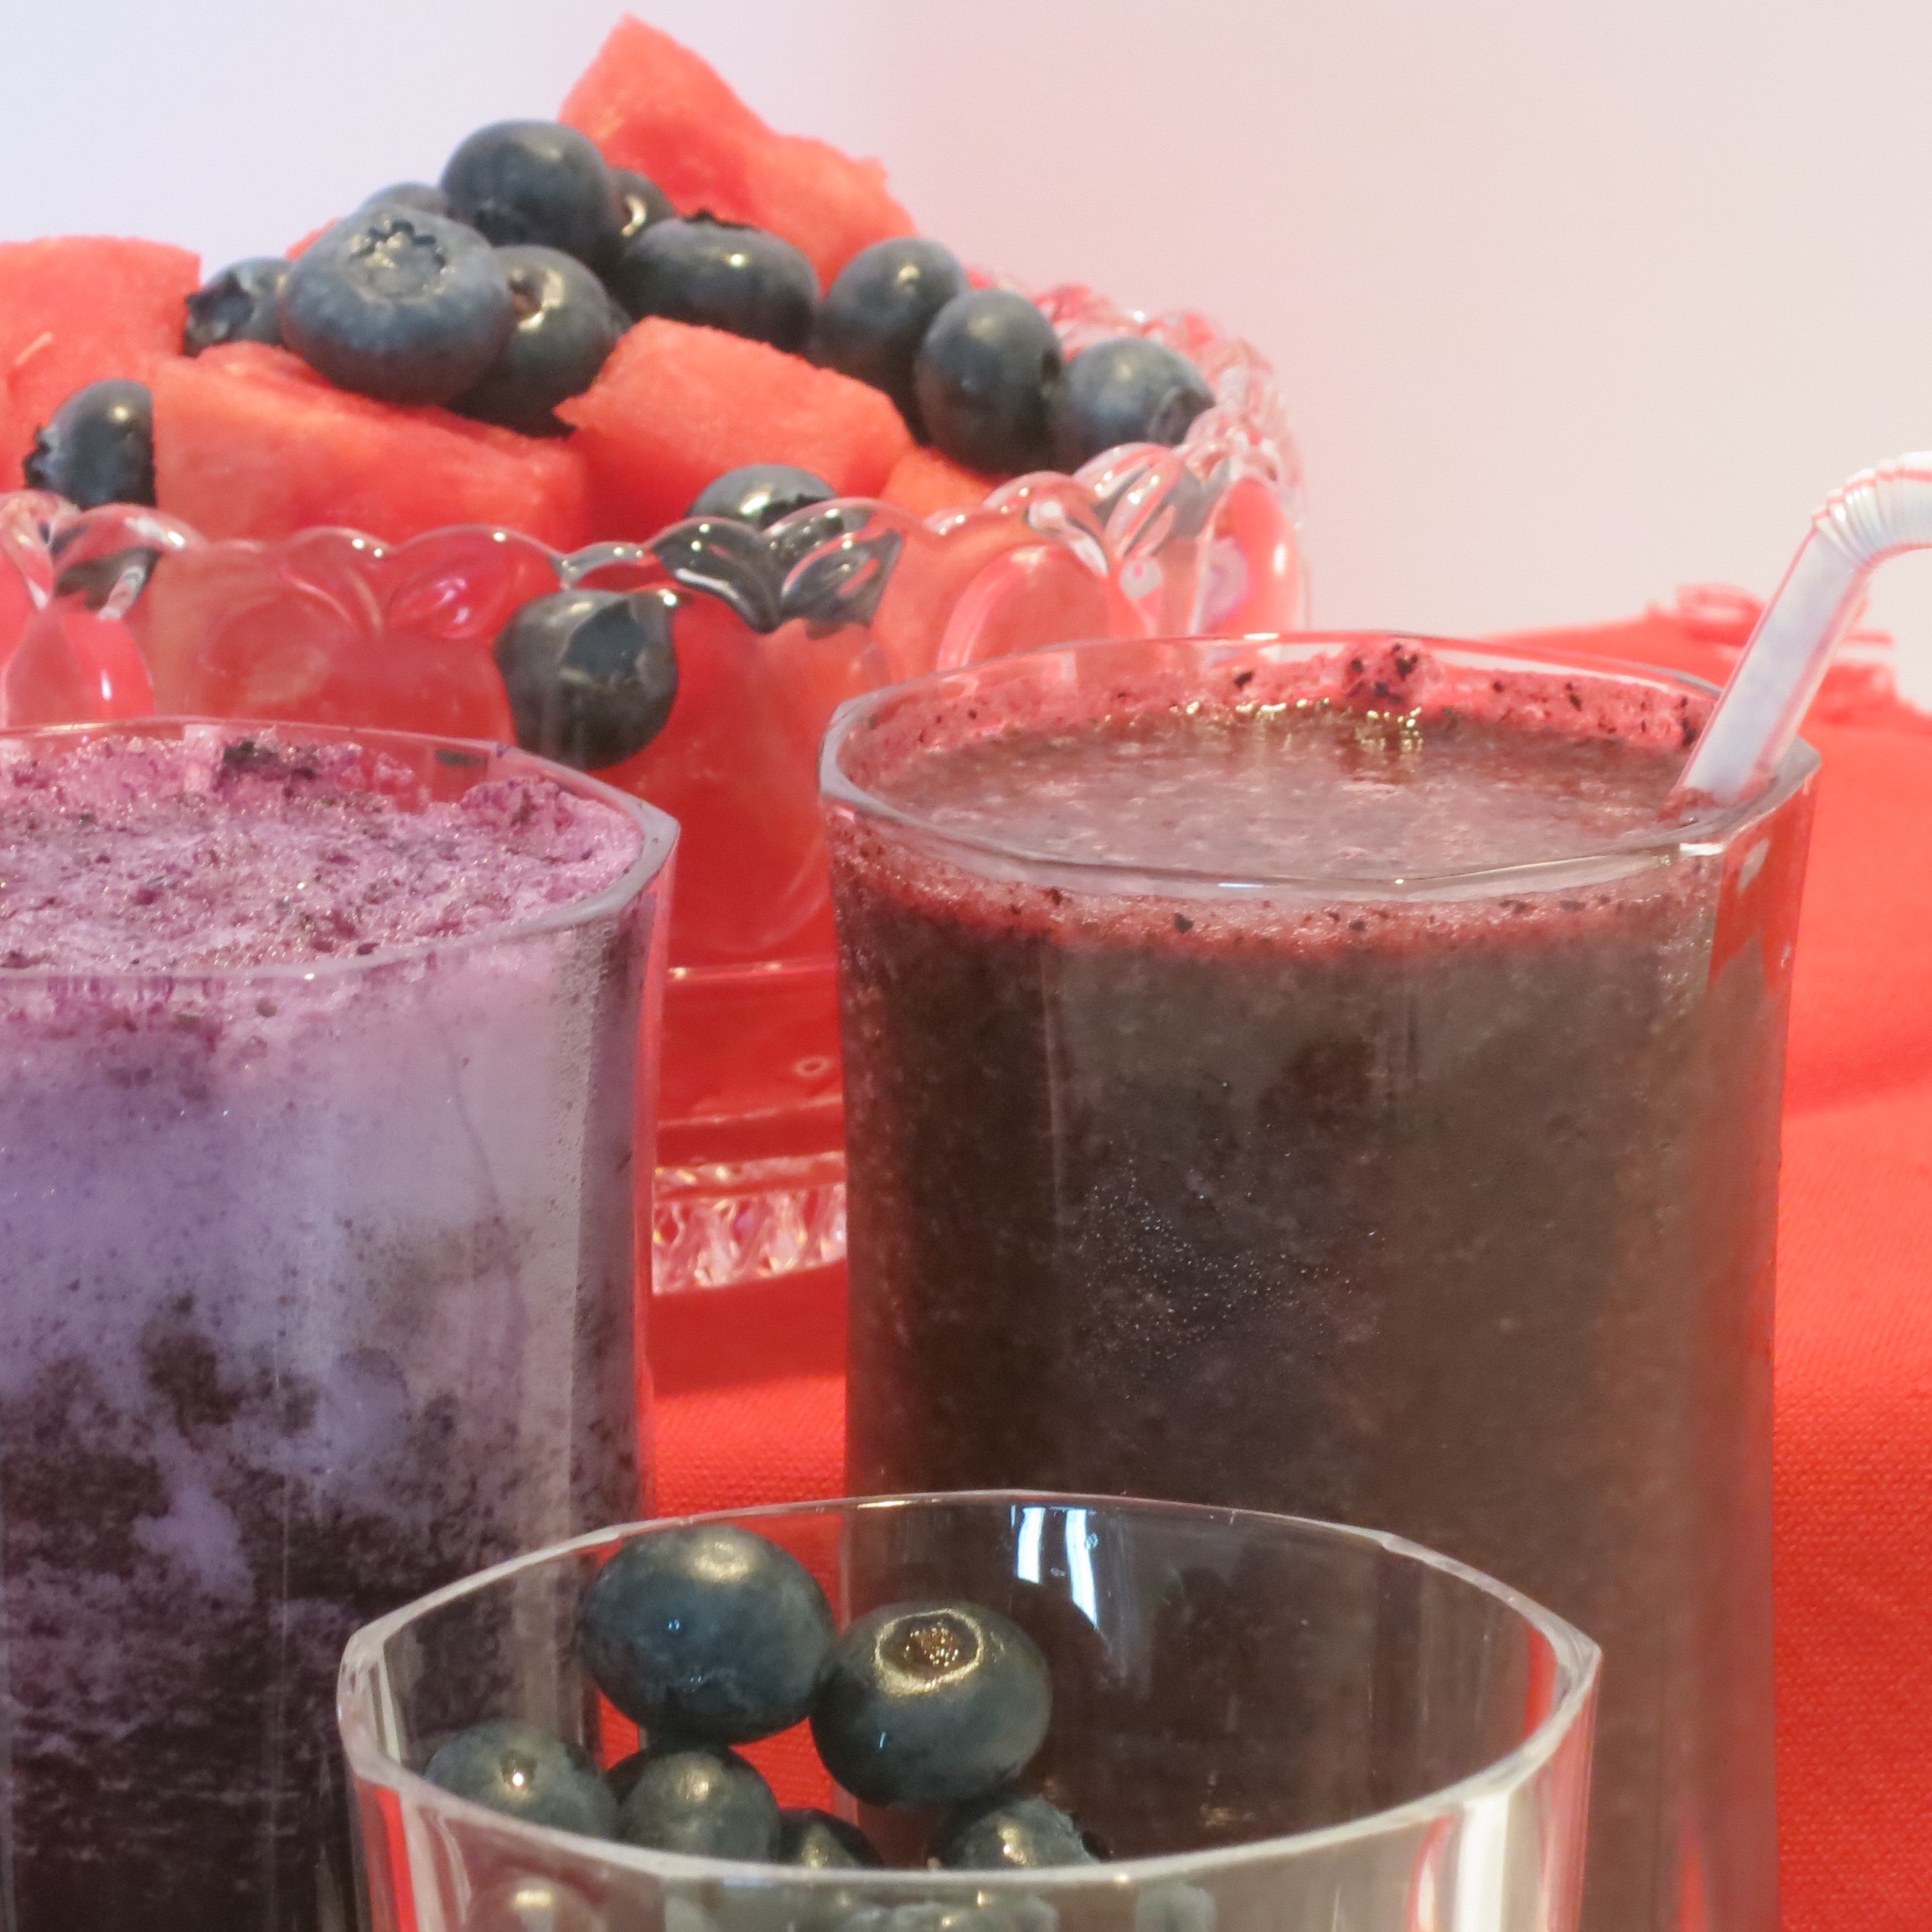
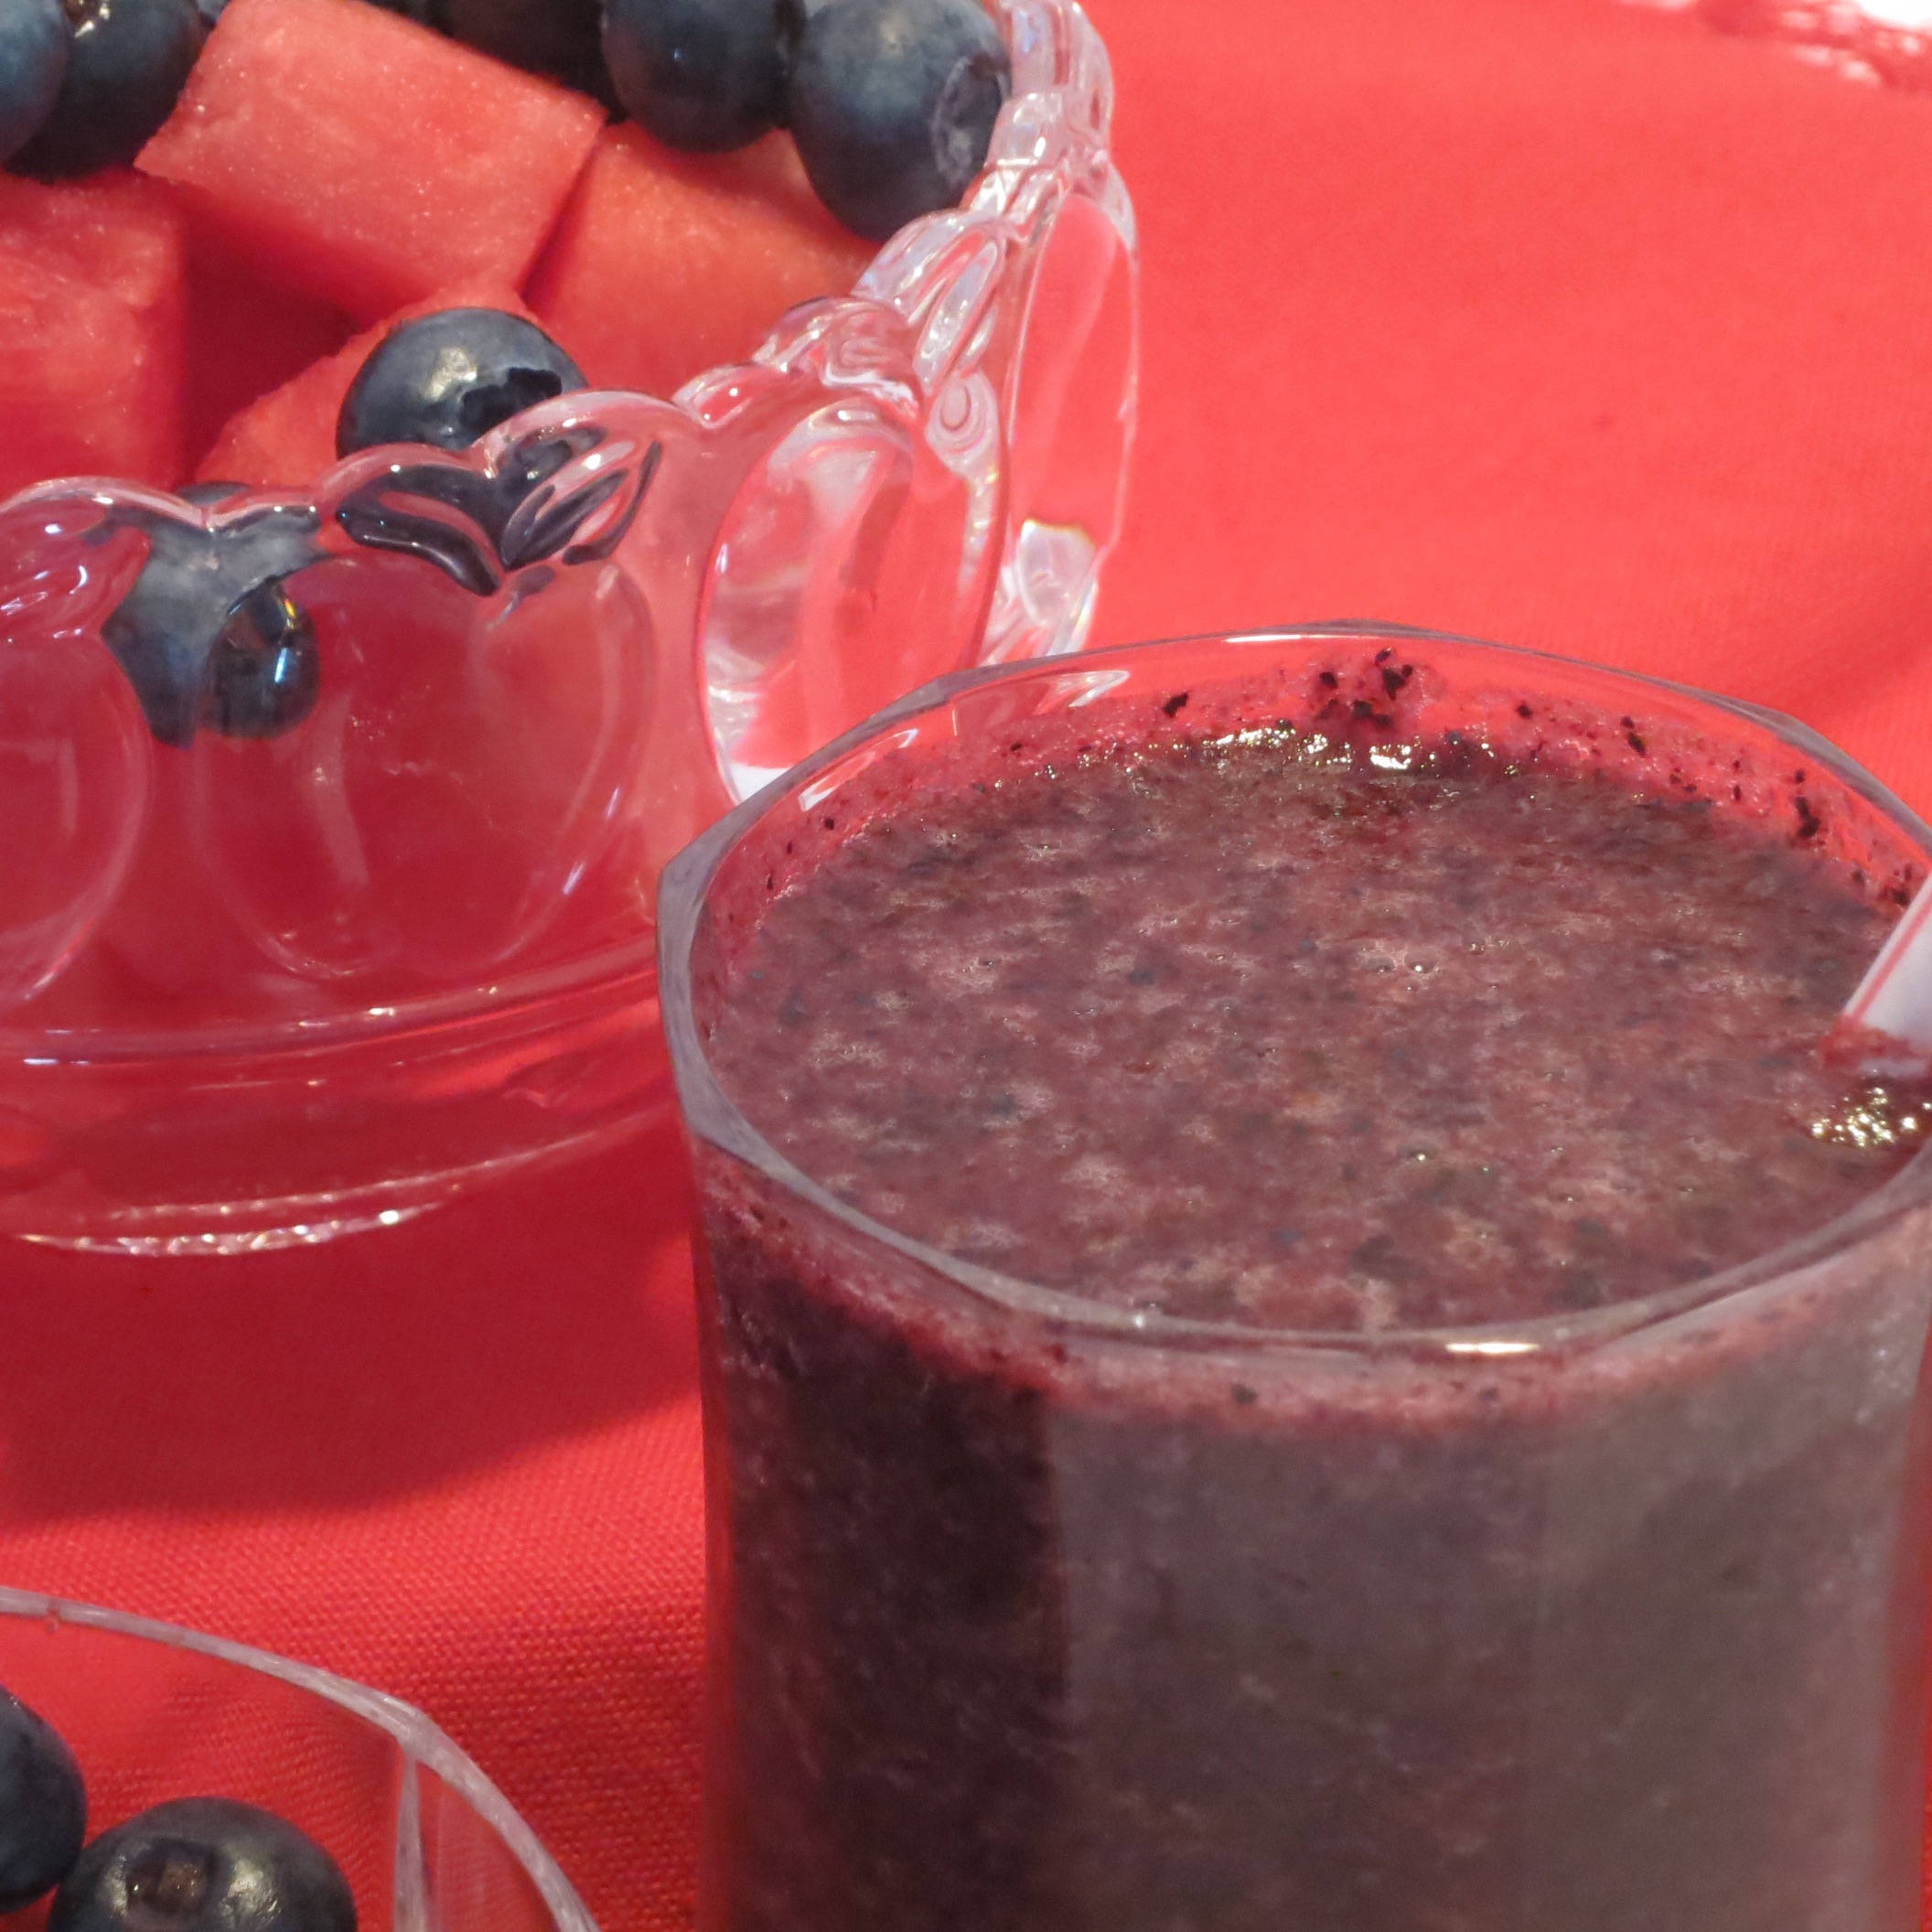
This year, we happened to buy a small watermelon during the same shopping trip, so this morning we made watermelon-blueberry smoothies for breakfast. Wow! They were great.
Here are two of our favorite fruit smoothie recipes:

Blueberry/Watermelon Smoothies
Equipment
- 1 blender, 16 oz or larger
- 1 strainer, large, medium mesh
Ingredients
Blueberry-Watermelon Smoothie
- 1 cup blueberries, frozen
- 2 1/2 cups seedless watermelon, cubed
- 1/2 cup watermelon juice
- 1 pinch sea salt
Instructions
- Use 16 oz (or bigger) blender.
- Make watermelon juice by squeezing/straining 1 cup cubed watermelon through a medium-mesh strainer held over measuring cup. Makes 1/2 cup juice.
- Add blueberries, 1 1/2 cups cubed watermelon, watermelon juice to the blender.
- Add pinch of sea salt to blender.
- Blend until smooth, about 1 minute.
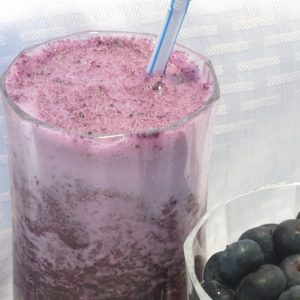
Blueberry Smoothie
Equipment
- 1 blender, 16 oz or larger
Ingredients
- 1 cup frozen blueberries
- 6 ounces pineapple juice
- 1/2 cup water
- 1 pinch sea salt
Instructions
- Use 16 oz. blender (or bigger)
- Add blueberries, pineapple juice, water, and sea salt to blender.
- Blend until smooth, about 1 minute.
Variations:
Sheila adds 2 Tablespoons almond butter and a scoop of protein powder to her blueberry smoothies to change them to protein smoothies.
Whether you prefer plain or fancy, I can report that nobody in our house died drinking either kind. 😉 Enjoy!
Photos by Patti Phillips
KNR, p. 197 “Blueberry Watermelon Smoothies” Read More »
