recipe

KNR, p. 228 “Pumpkin Chocolate Chip Cookies”

The ‘Season for Everything Pumpkin’ should include a great pumpkin cookie.  🙂

At the Kerrian household, the time between Halloween and New Year’s Day is when we add pumpkin to lots of dishes. Some turn out to be scrumptious, some we never talk about again, but we had never found the right combo for a pumpkin cookie. Until now. By simply adding pumpkin to one of our favorite chocolate chip cookie recipes, and tweaking it a bit, this has become a tasty regular snack treat for Autumn.

We (me, any neighbors we could snag, and the mail gal) taste-tested this one until we were satisfied. We might have taken longer than we needed to. Taste-testing is a challenge we take seriously, no matter how many cookies must be eaten.

Pumpkin Chocolate Chip Cookies

great cookie
Prep Time 15 minutes
Cook Time 15 minutes
Course Dessert
Cuisine American

Ingredients
  

  • 1 cup spreadable butter or margarine (Land O Lakes butter with canola oil works well for this)
  • 1.5 cups firmly packed Domino’s light brown sugar
  • 1/4 cup cane sugar
  • 2 jumbo eggs
  • 1.5 cups pureed or canned pumpkin
  • 1 teaspoon pure vanilla extract
  • 1 teaspoon sea salt
  • 1/2 teaspoon baking soda
  • 1/2 teaspoon cinnamon
  • 1/4 teaspoon nutmeg
  • 2 cups all purpose, unbleached King Arthur flour
  • 1 cup semi-sweet Ghirardelli chocolate chips

Instructions
 

  • Pre-heat oven to 375
  • In large bowl, beat together butter and sugar until creamy.
  • Add eggs, pumpkin, vanilla, sea salt, baking soda, cinnamon, and nutmeg, stirring until thoroughly blended.
  • Add flour 1 cup at a time and beat until well-mixed.
  • Mix chocolate chips evenly throughout the dough.
  • Drop 1/4 cup dough for each cookie onto aluminum cookie sheets, about six per sheet.
  • Bake for 15-16 minutes until light golden brown.

Notes

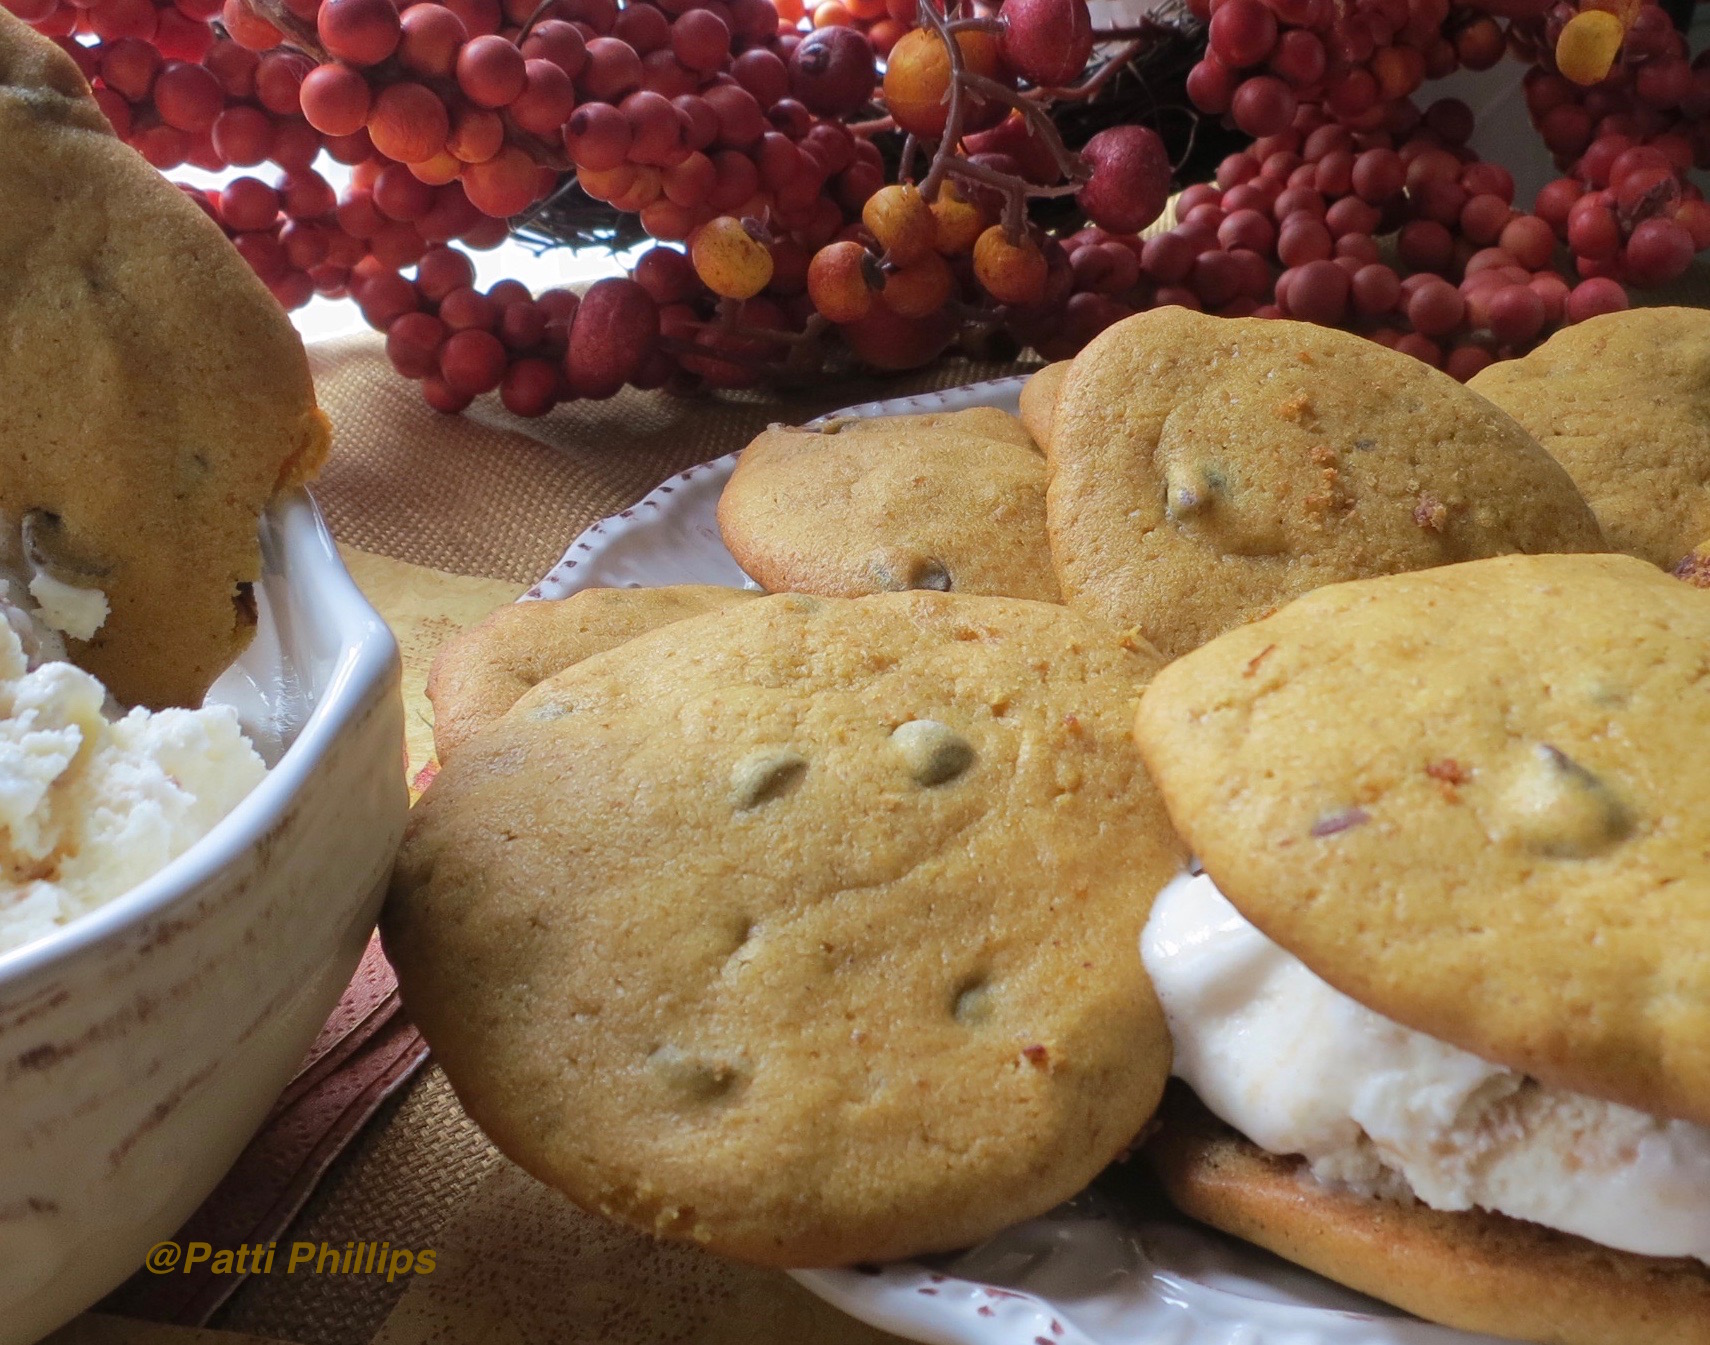
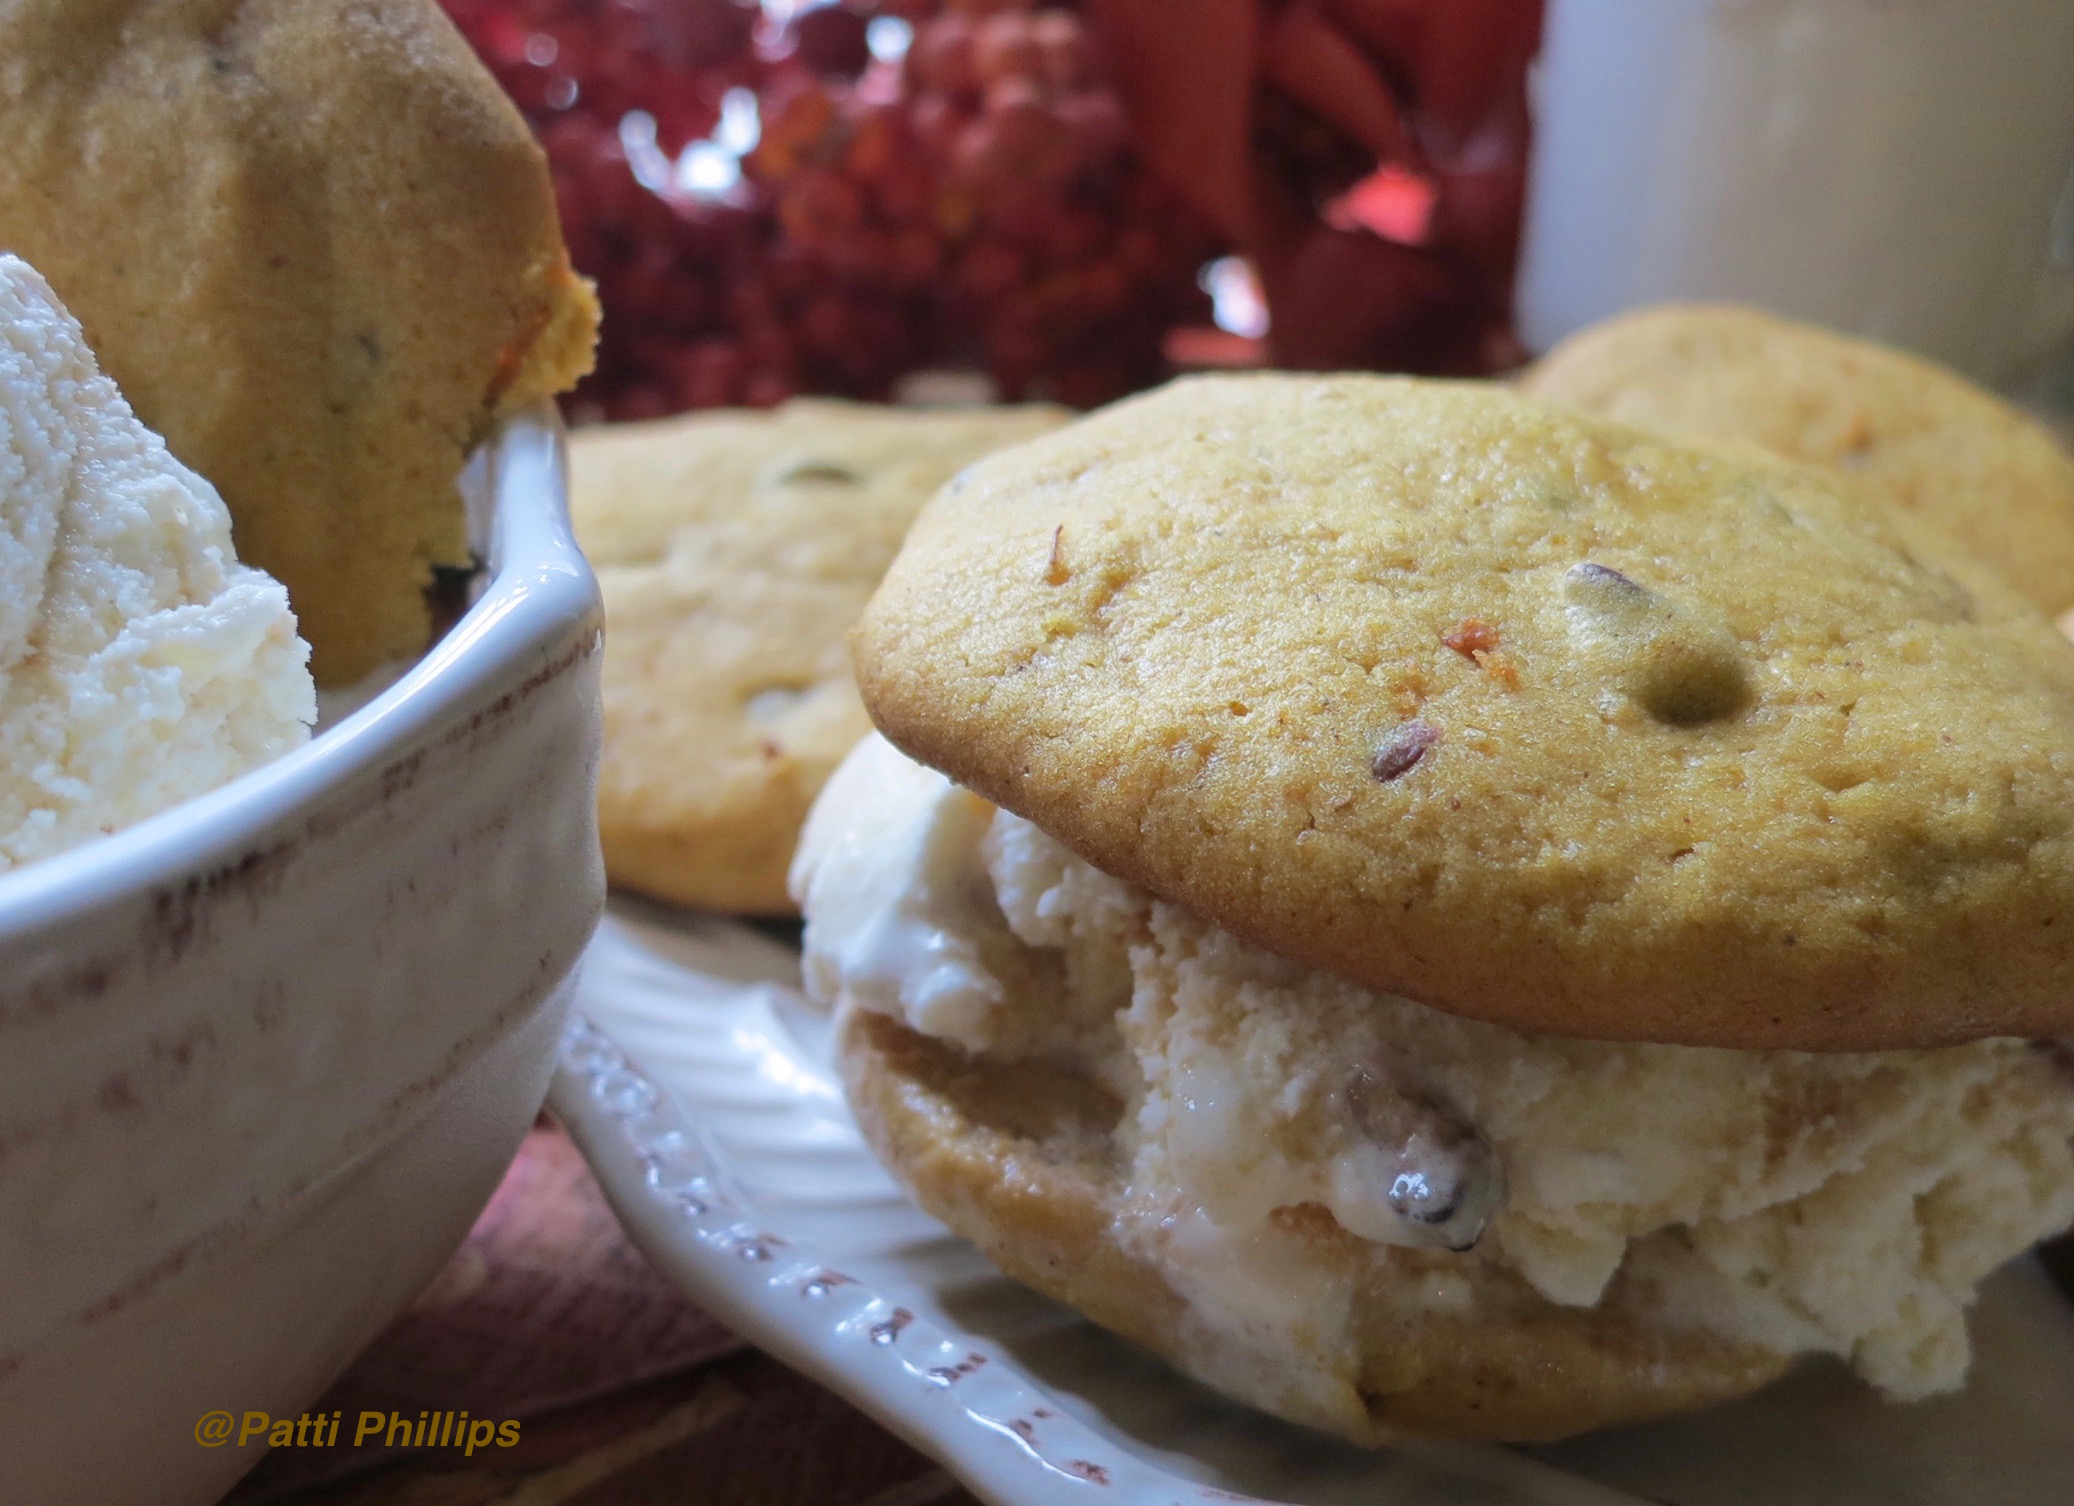
Yield: 20-24 three inch cookies
Eat warm, five minutes out of the oven, or let cool completely and serve with ice cream. Sheila had a bowl of ice cream with a cookie and I made an ice cream sandwich with two cookies. Both of us had pecan praline ice cream with the cookies.


KNR, p. 228 “Pumpkin Chocolate Chip Cookies” Read More »

KNR, p. 202 “The Kerrians’ Famous Mac & Cheese”


The temperatures are cooling off and comfort food takes center stage at our house. We fend off the chill with body warming soup and hearty sandwiches, but every once in a while, we like mac & cheese for lunch or dinner.

I like to taste test the new versions with different goodies added to the mix, but there is a basic recipe that Sheila uses (and even I can make) that is fail-safe. We sometimes prepare it ahead and serve it as a side dish if we’re expecting a crowd.

A couple of thoughts: It looks like a lot of instructions, but you’re boiling noodles, grating cheese, making a sauce, and putting it together in layers – like lasagna. No bodies were found while making the latest batch. Promise.  🙂

Here’s our famous Mac & Cheese recipe:


The Kerrians' Famous Mac & Cheese

Sheila Kerrian
tasty comfort food
Prep Time 1 hour
Cook Time 20 minutes
Course Main Course, Side Dish
Cuisine American
Servings 4

Equipment

  • 2 quart baking dish
  • 3 quart pot

Ingredients
  

Noodles

  • 1 8 oz box small elbow noodles
  • 2 teaspoons sea salt
  • 1 teaspoon butter or margarine for boiling water, to keep noodles from clumping
  • 1 teaspoon butter for tossing noodles

White Sauce

  • 4 Tablespoons butter
  • 5 Tablespoons flour
  • 4 cups milk
  • 1 teaspoon sea salt
  • 1 pinch ground black pepper

Additional Ingredients

  • 12 oz sharp cheddar, grated
  • 2 cups croutons, seasoned  (we use the garlic & herb variety)
  • 1 cup bacon, crisp, crumbled   *optional
  • 1 whole tomato *optional

Instructions
 

Noodles

  • Bring 1 and 1/2 quarts water to boil in a 3 quart pot, add 2 teaspoons sea salt and stir.
  • Add dry noodles and 1 teaspoon margarine to boiling salted water and stir.
  • Boil noodles until fork tender, stirring frequently (about 20 mins).
  • (While noodles are boiling, prepare the White Sauce.)
  • Thoroughly drain the noodles, toss with 1 teaspoon butter, and set aside.
  • Preheat oven to 375.

White Sauce

  • In one quart pot, melt 4 Tablespoons butter on medium heat, being careful not to burn it.
  • Add 1 Tablespoon flour, 1 teaspoon sea salt, and stir until well blended.
  • Add 4 more Tablespoons flour, 1 Tablespoon at a time, stirring each until well-blended and the mixture pulls away from the sides of the pot.
  • Remove from heat. Add 1 cup milk (1/4  cup at a time) stirring until smooth, without clumps.
  • Return to heat and gradually add 3 more cups milk, while stirring. As the sauce thickens, stir to keep it from sticking to the pot and/or clumping. It is ready when it is the consistency of creamy gravy.
  • Add pinch of black pepper. Remove from heat and set aside. It will thicken a bit more while sitting.

Cheese and Assembly

  • Grate all of the cheese and set aside.
  • Use a 2-quart baking dish. You will be assembling the mac & cheese in layers (like lasagna).
  • Spread 1/4 cup of sauce on bottom of baking dish.
  • Spread 1/3 of the noodles in the bottom.
  • Spread 1/3 of the remaining white sauce on the noodles.
  • Sprinkle 1/3 of the cheese on top of the sauce.
  • Sprinkle 1/2 cup of the croutons on top of the cheese.
  • Repeat the layers twice more, but with the top layer, crumble the remaining croutons and spread evenly on top.
  • Bake at 375 until heated through and cheese is bubbly, about 20 minutes, no lid.
  • Serve with salad.

Notes

Options: Create a well in the center of a whole tomato and serve mac & cheese in it.
Sprinkle crumbled bacon on top of mac & cheese as a garnish.


Save

Save

Save

Save

Save

Save

KNR, p. 202 “The Kerrians’ Famous Mac & Cheese” Read More »

KNR, p. 179 “Kerrian’s Gluten-Free Pancakes”

If there are no paragraph separations in the post, please double-click on the title to create a more readable version.

Sheila and I really enjoy eating pancakes on the weekends, and even sometimes during the week for dinner. But then, who doesn’t like breakfast for dinner? One of our friends has started a gluten-free diet and asked Sheila if she had a gluten-free version of our pancakes. We didn’t at the time, but Sheila played around with the basic eggs, flour, milk, and butter recipe and came up with this one. We tried pea flour, but that batch wound up tasting like hummus.

There was lots of taste testing and I think the final version is pretty good served with butter and syrup. They are thin, not puffy.

An interesting discovery was that these can become a bread substitute by adding rosemary or other herbs to the mix. They don’t really stand up to a hefty sandwich, but work nicely as a substitute for rolls with dinner.


Kerrian's Favorite Gluten-Free Pancakes

Sheila Kerrian
Course Breakfast
Cuisine American
Servings 4

Ingredients
  

  • 1/2 cup tapioca flour
  • 1/2 cup white rice flour
  • 1 1/2 cups brown rice flour
  • 1 teaspoon sea salt
  • 1 teaspoon baking powder
  • 2 cups cold water
  • 1/4 cup almond oil
  • 1 teaspoon pure Mexican vanilla
  • 1 egg (can also be just the egg white)
  • 1 Tablespoon 1 softened margarine for coating frying pan – butter will burn

Instructions
 

  • Mix all dry ingredients together.
  • Slowly add water while whisking to keep the mixture from clumping.
  • Add almond oil and whisk until thoroughly mixed.
  • Add vanilla and whisk until blended.
  • Add egg and whisk until mixed.
  • Heat frying pan on medium, add margarine and spread to cover bottom of pan. As soon as margarine starts to bubble, begin to make pancakes.
  • Flip when pancake edges begin to dry and surface bubbles. Done when lightly browned on both sides, about a minute or two each side, depending on the heat of your stove top.
  • Remove to plate and serve immediately.

Notes

Recipe tips:
Making the herb-seasoned variety? Add a teaspoon of dried rosemary or other herbs to the dry ingredients. Prep and cooking is the same.
This gluten-free batter should be stirred just before cooking each batch, since the rice flour tends to sink to the bottom of the bowl.
Can be reheated in toaster.
Can be frozen, but separate each pancake with foil before putting in freezer containers.
If left in pile on covered plate in refrigerator, can be kept for four days.


Enjoy!  🙂

*Photo by Patti Phillips


Enjoy!Save

Save

Save

Save

KNR, p. 179 “Kerrian’s Gluten-Free Pancakes” Read More »

Scroll to Top