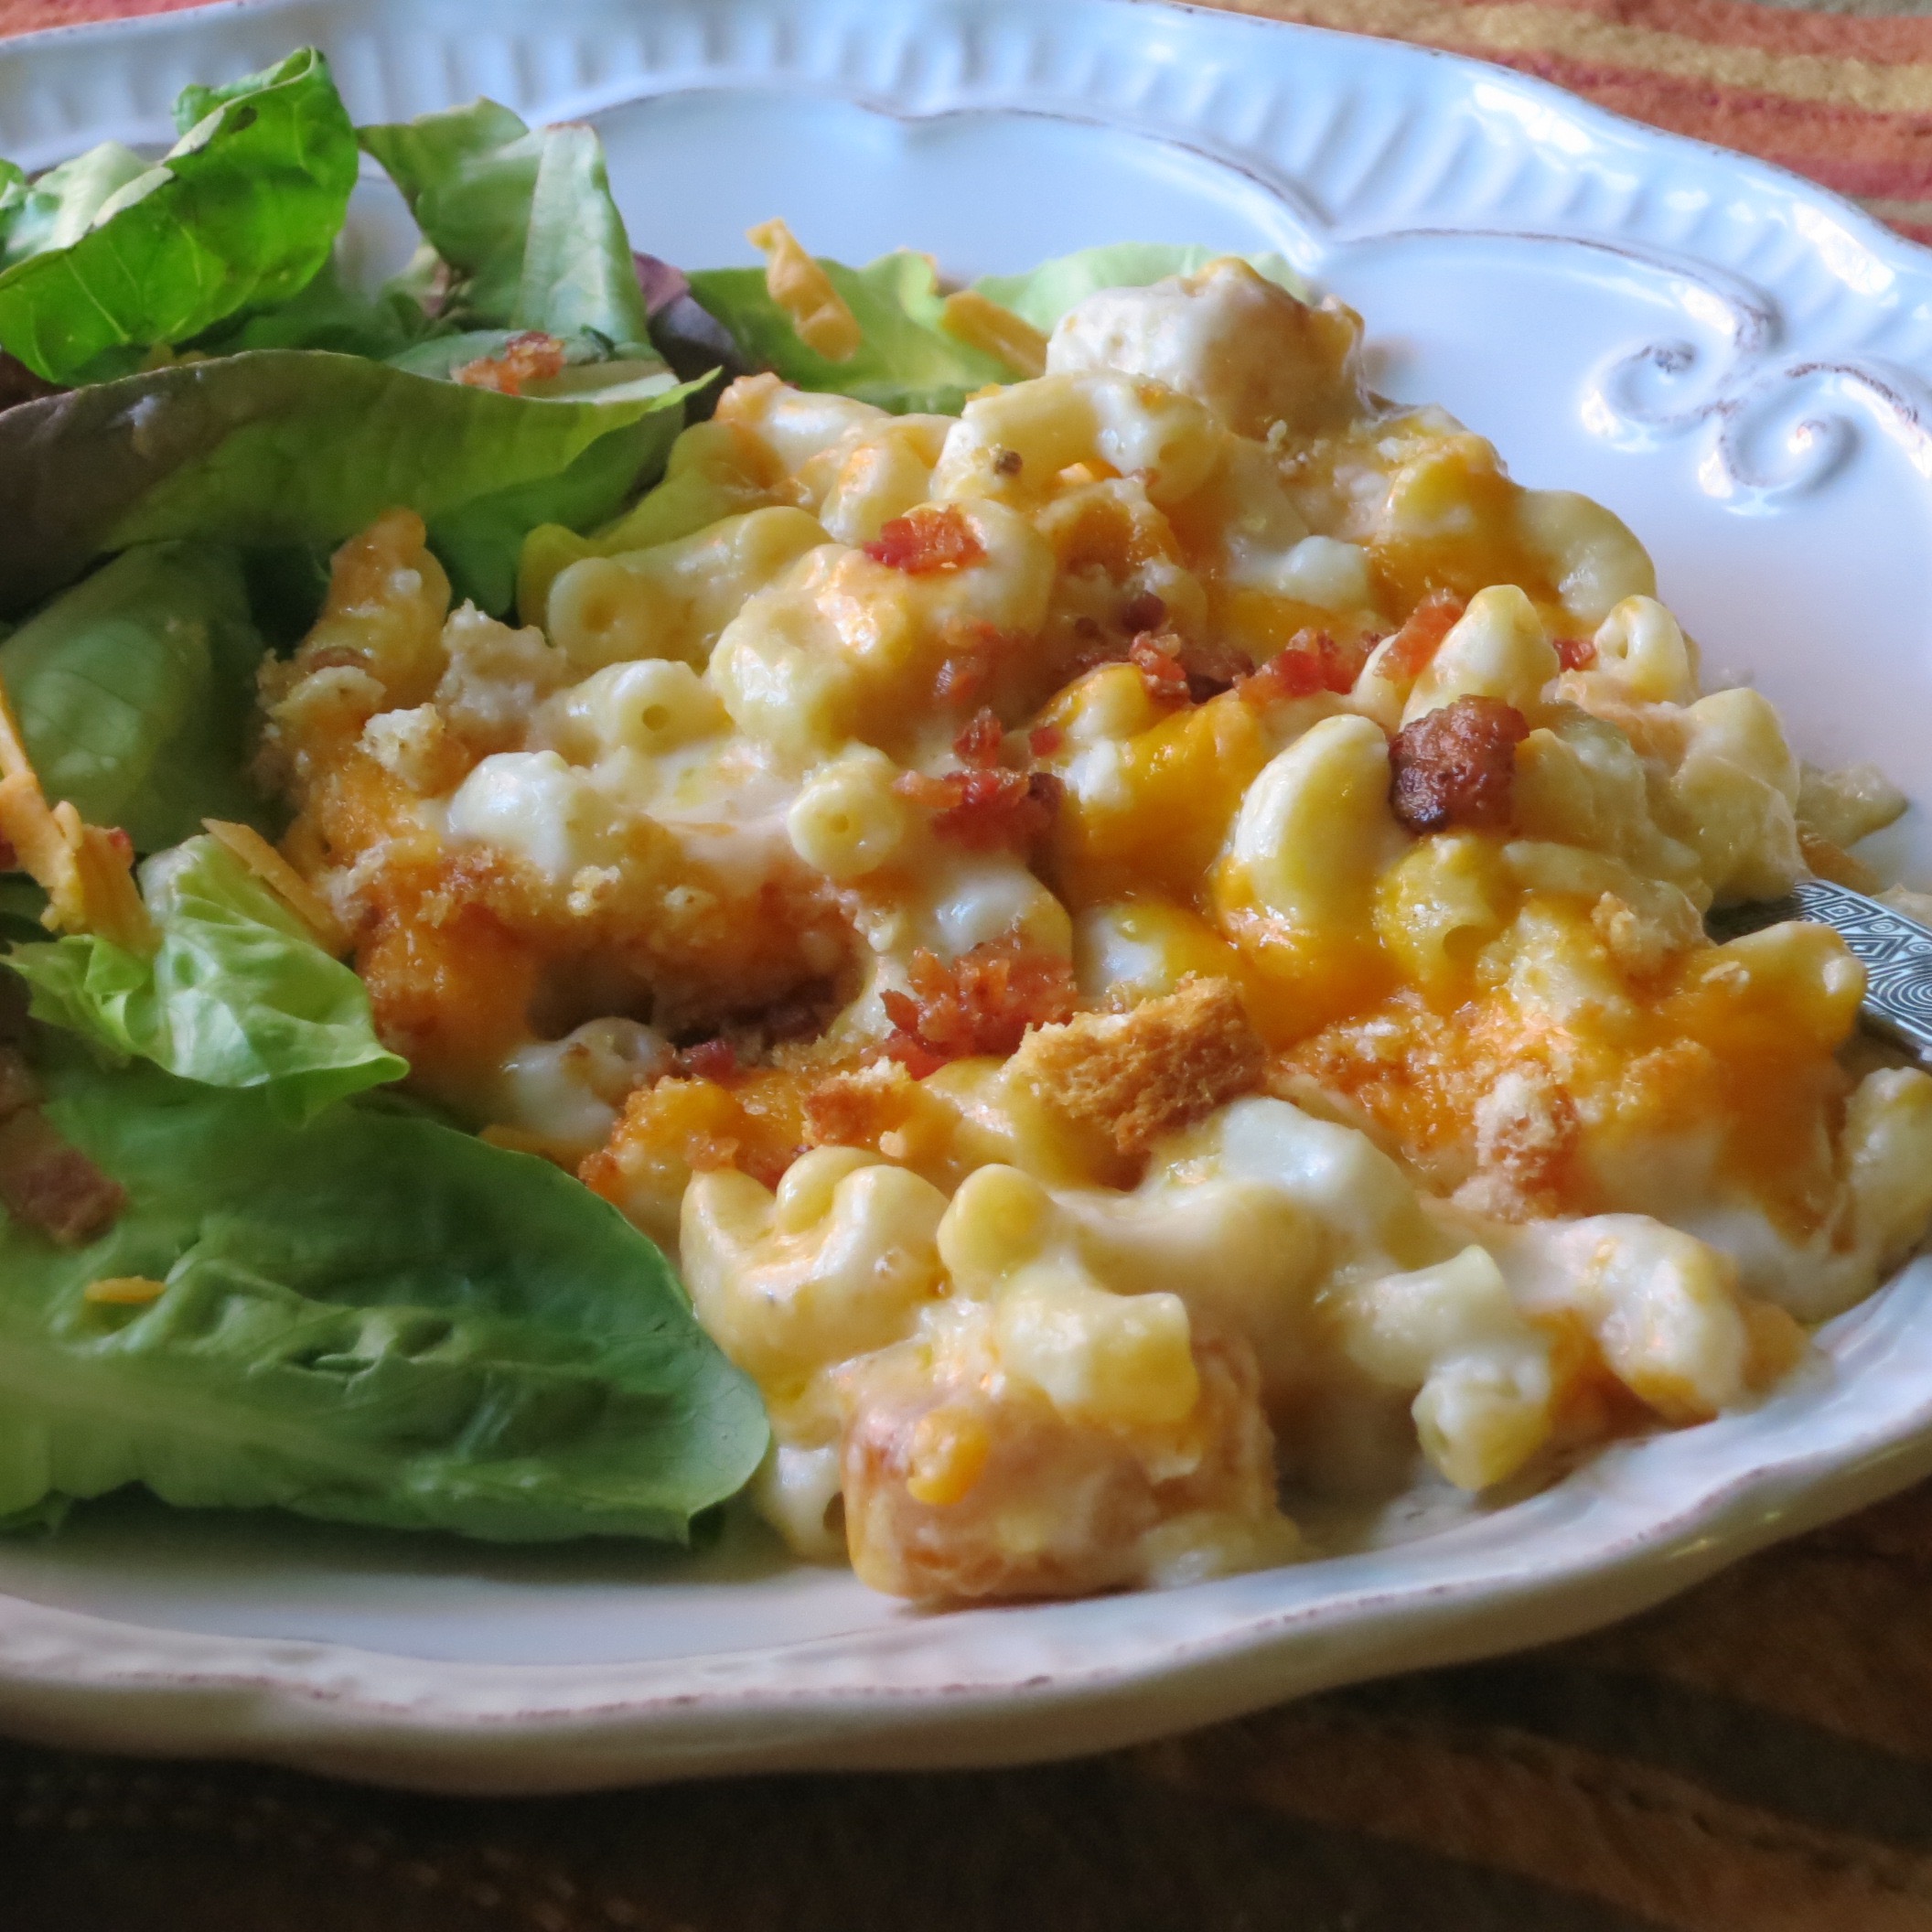
KNR, p. 202 “The Kerrians’ Famous Mac & Cheese”
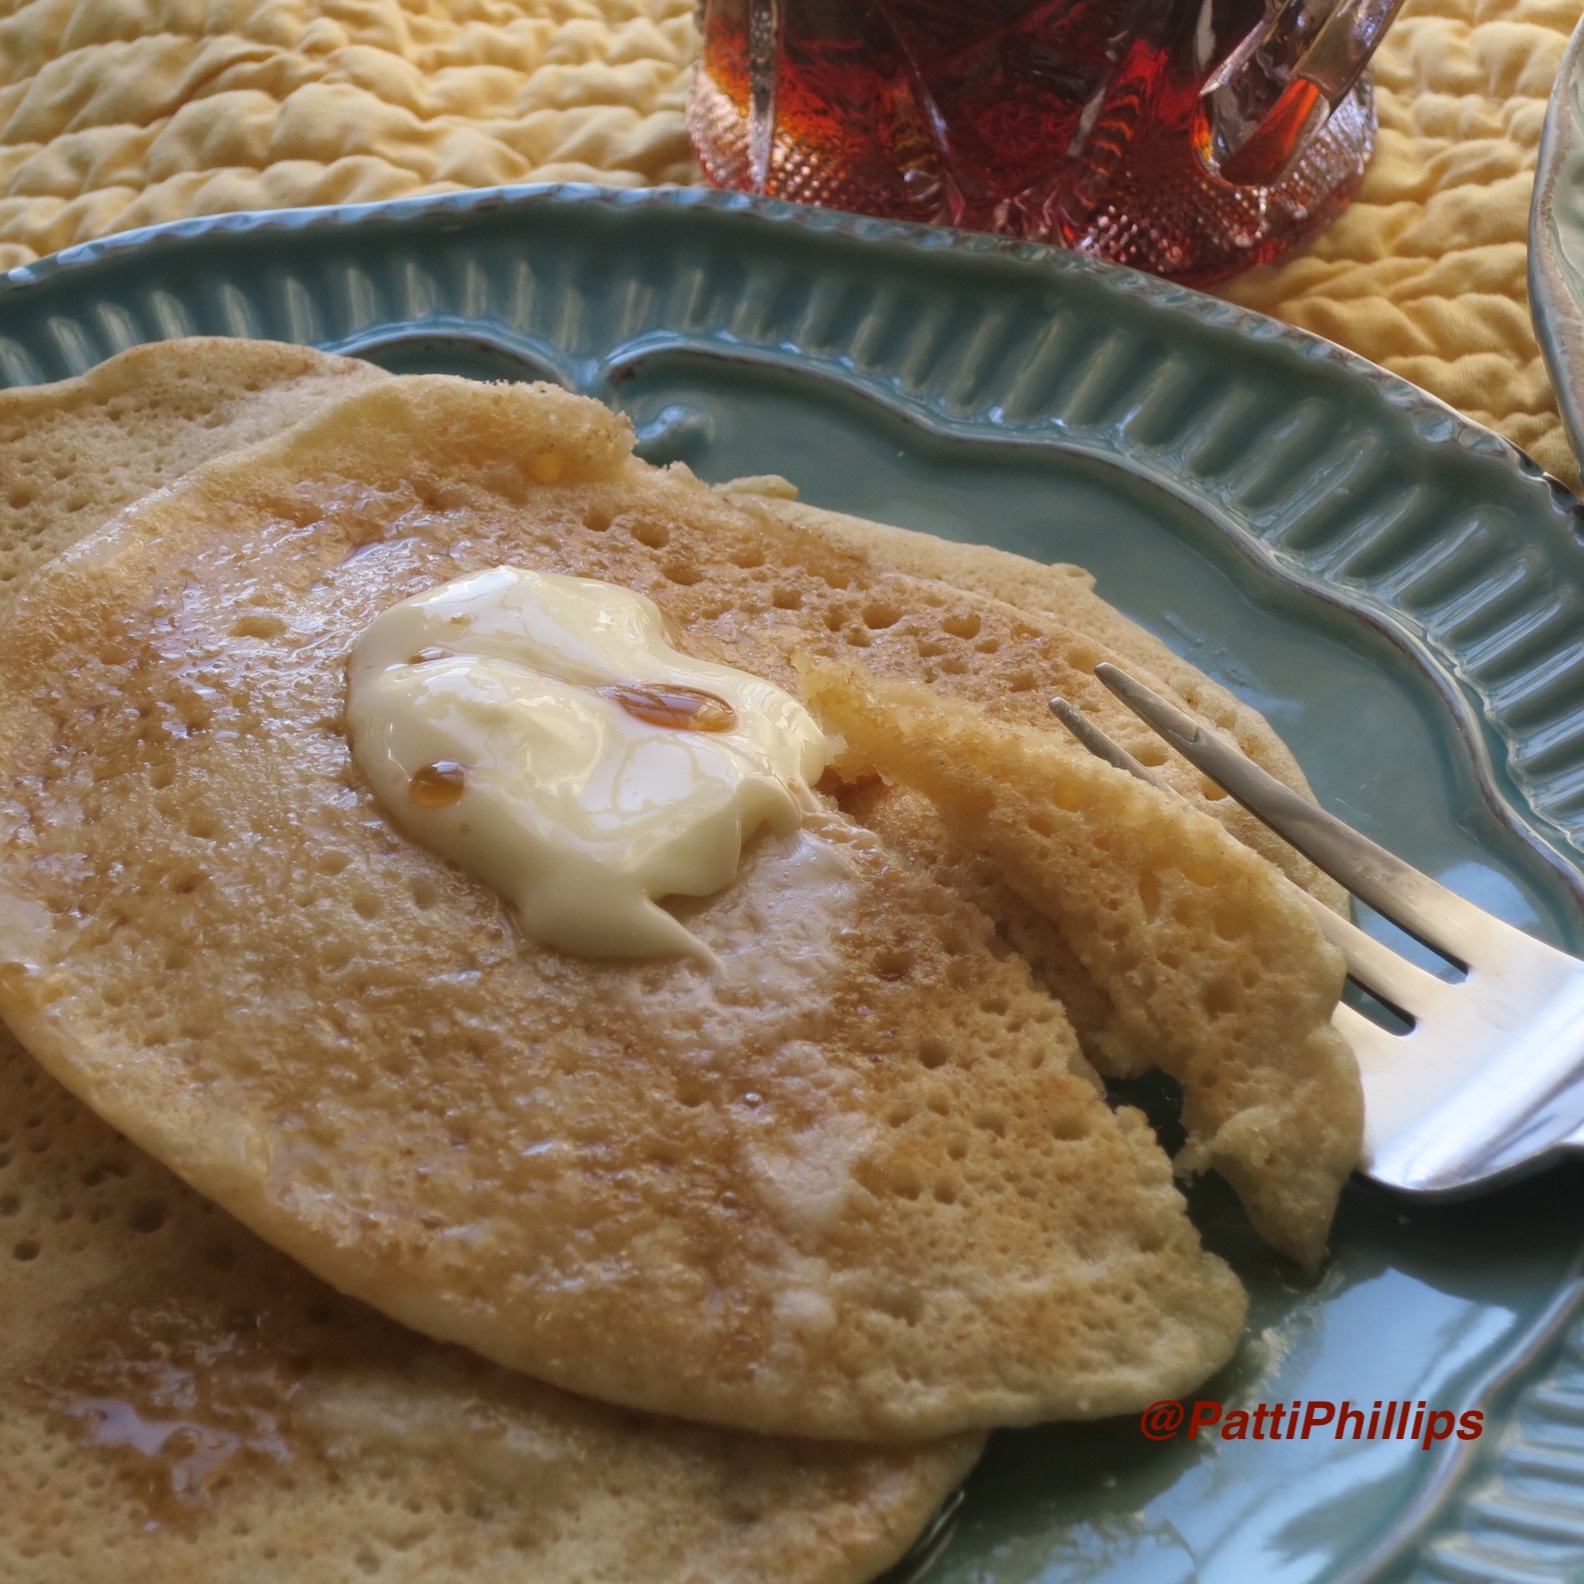
The temperatures are cooling off and comfort food takes center stage at our house. We fend off the chill with body warming soup and hearty sandwiches, but every once in a while, we like mac & cheese for lunch or dinner.
I like to taste test the new versions with different goodies added to the mix, but there is a basic recipe that Sheila uses (and even I can make) that is fail-safe. We sometimes prepare it ahead and serve it as a side dish if we’re expecting a crowd.
A couple of thoughts: It looks like a lot of instructions, but you’re boiling noodles, grating cheese, making a sauce, and putting it together in layers – like lasagna. No bodies were found while making the latest batch. Promise. 🙂
Here’s our famous Mac & Cheese recipe:

The Kerrians' Famous Mac & Cheese
Equipment
- 2 quart baking dish
- 3 quart pot
Ingredients
Noodles
- 1 8 oz box small elbow noodles
- 2 teaspoons sea salt
- 1 teaspoon butter or margarine for boiling water, to keep noodles from clumping
- 1 teaspoon butter for tossing noodles
White Sauce
- 4 Tablespoons butter
- 5 Tablespoons flour
- 4 cups milk
- 1 teaspoon sea salt
- 1 pinch ground black pepper
Additional Ingredients
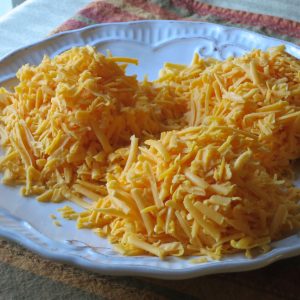
- 12 oz sharp cheddar, grated
- 2 cups croutons, seasoned (we use the garlic & herb variety)
- 1 cup bacon, crisp, crumbled *optional
- 1 whole tomato *optional
Instructions
Noodles
- Bring 1 and 1/2 quarts water to boil in a 3 quart pot, add 2 teaspoons sea salt and stir.
- Add dry noodles and 1 teaspoon margarine to boiling salted water and stir.
- Boil noodles until fork tender, stirring frequently (about 20 mins).
- (While noodles are boiling, prepare the White Sauce.)
- Thoroughly drain the noodles, toss with 1 teaspoon butter, and set aside.
- Preheat oven to 375.
White Sauce
- In one quart pot, melt 4 Tablespoons butter on medium heat, being careful not to burn it.
- Add 1 Tablespoon flour, 1 teaspoon sea salt, and stir until well blended.
- Add 4 more Tablespoons flour, 1 Tablespoon at a time, stirring each until well-blended and the mixture pulls away from the sides of the pot.
- Remove from heat. Add 1 cup milk (1/4 cup at a time) stirring until smooth, without clumps.
- Return to heat and gradually add 3 more cups milk, while stirring. As the sauce thickens, stir to keep it from sticking to the pot and/or clumping. It is ready when it is the consistency of creamy gravy.
- Add pinch of black pepper. Remove from heat and set aside. It will thicken a bit more while sitting.
Cheese and Assembly
- Grate all of the cheese and set aside.
- Use a 2-quart baking dish. You will be assembling the mac & cheese in layers (like lasagna).
- Spread 1/4 cup of sauce on bottom of baking dish.
- Spread 1/3 of the noodles in the bottom.
- Spread 1/3 of the remaining white sauce on the noodles.
- Sprinkle 1/3 of the cheese on top of the sauce.
- Sprinkle 1/2 cup of the croutons on top of the cheese.
- Repeat the layers twice more, but with the top layer, crumble the remaining croutons and spread evenly on top.
- Bake at 375 until heated through and cheese is bubbly, about 20 minutes, no lid.
- Serve with salad.
Notes
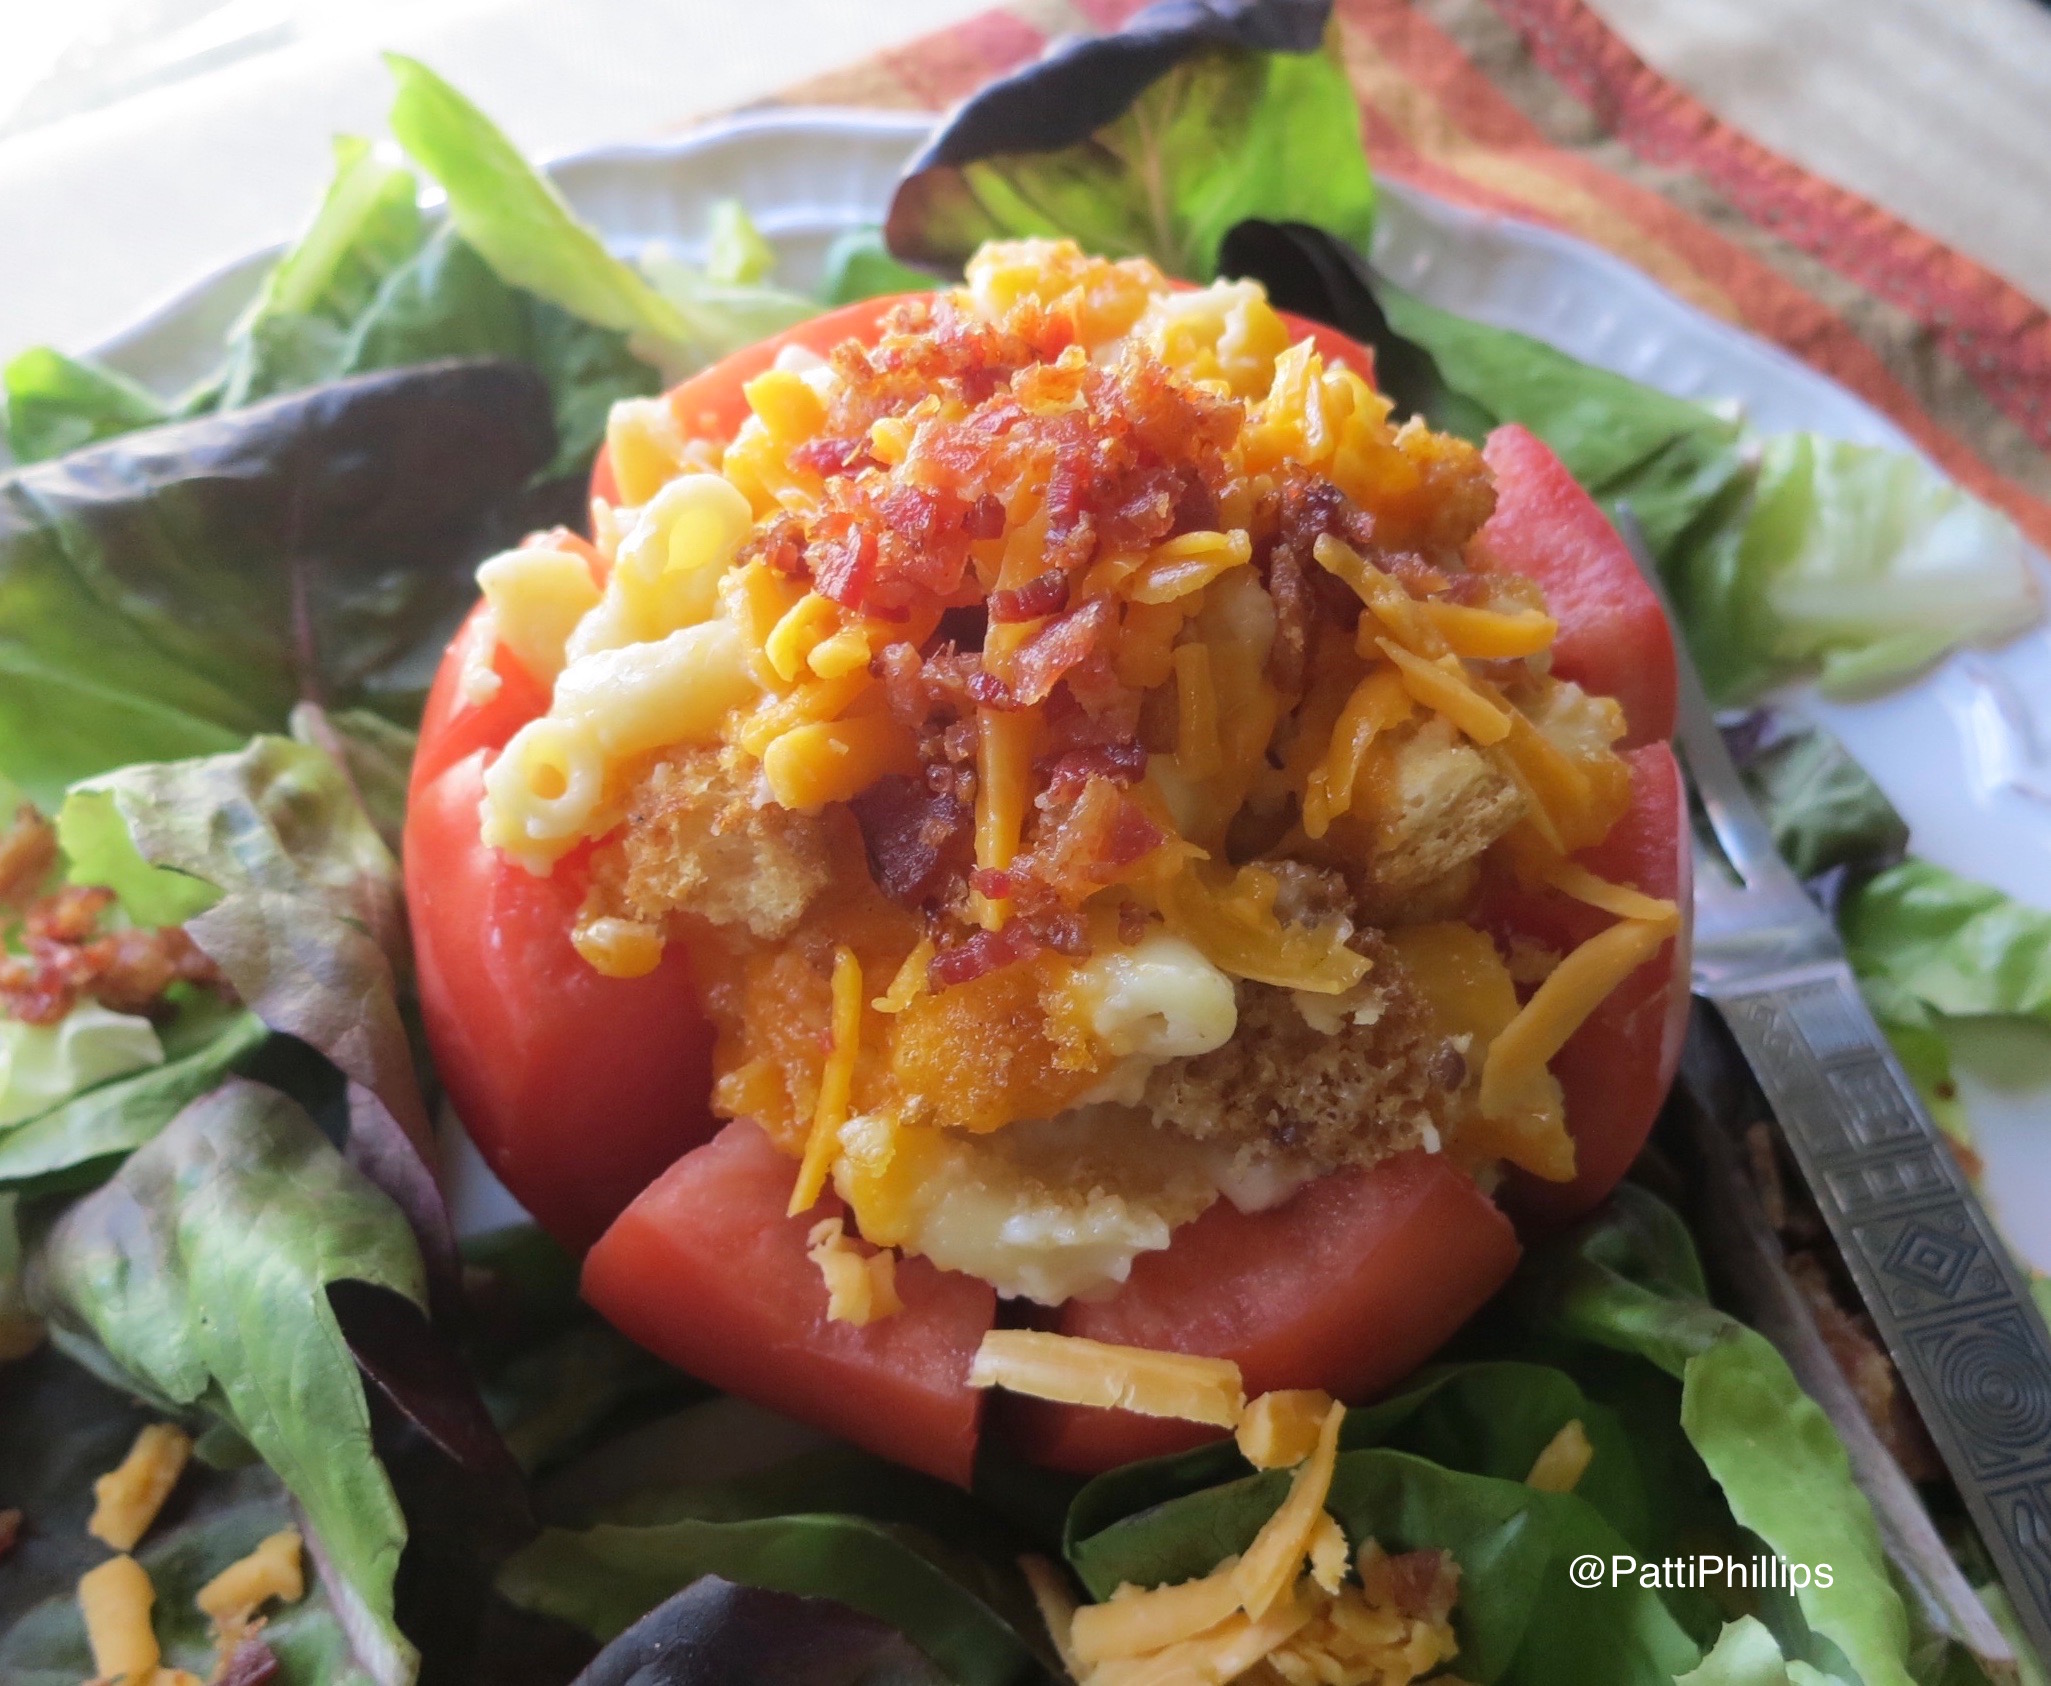 Options: Create a well in the center of a whole tomato and serve mac & cheese in it.
Sprinkle crumbled bacon on top of mac & cheese as a garnish.
Options: Create a well in the center of a whole tomato and serve mac & cheese in it.
Sprinkle crumbled bacon on top of mac & cheese as a garnish.
KNR, p. 202 “The Kerrians’ Famous Mac & Cheese” Read More »