KNR, p. 204 “Chocolate Chip Pumpkin Muffins”

Sheila tried out a new muffin recipe. And the muffins have PUMPKIN in them. Big smiles here. She said that these were for breakfast, but since I was hanging around for taste-testing duty, I had the first one for an afternoon snack. She made some with chocolate chips and without, and both types were great. Chocolate and pumpkin, though? Perfect together!
In case you were wondering? No bodies anywhere in the kitchen or dining room. I always check. 😉
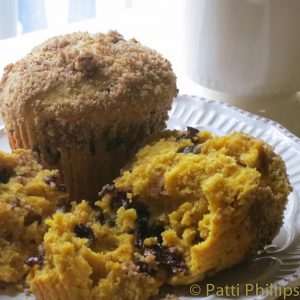
Chocolate Chip Pumpkin Muffins
Equipment
- Standing mixer
- Jumbo Muffin Pan
Ingredients
Topping
- 3 Tablespoons brown sugar
- 2 Tablespoons pecans, chopped and ground
- 1/4 teaspoon ground cinnamon
Muffins
- 1/3 cup sunflower seed oil (or other nut oil)
- 1 cup brown sugar
- 2 large eggs
- 1 teaspoon pure vanilla extract
- 2 cups all-purpose unbleached King Arthur flour
- 3/4 teaspoon baking powder
- 1/4 teaspoon baking soda
- 1/2 teaspoon ground cinnamon
- 1/4 teaspoon ground nutmeg
- 3/4 teaspoon sea salt
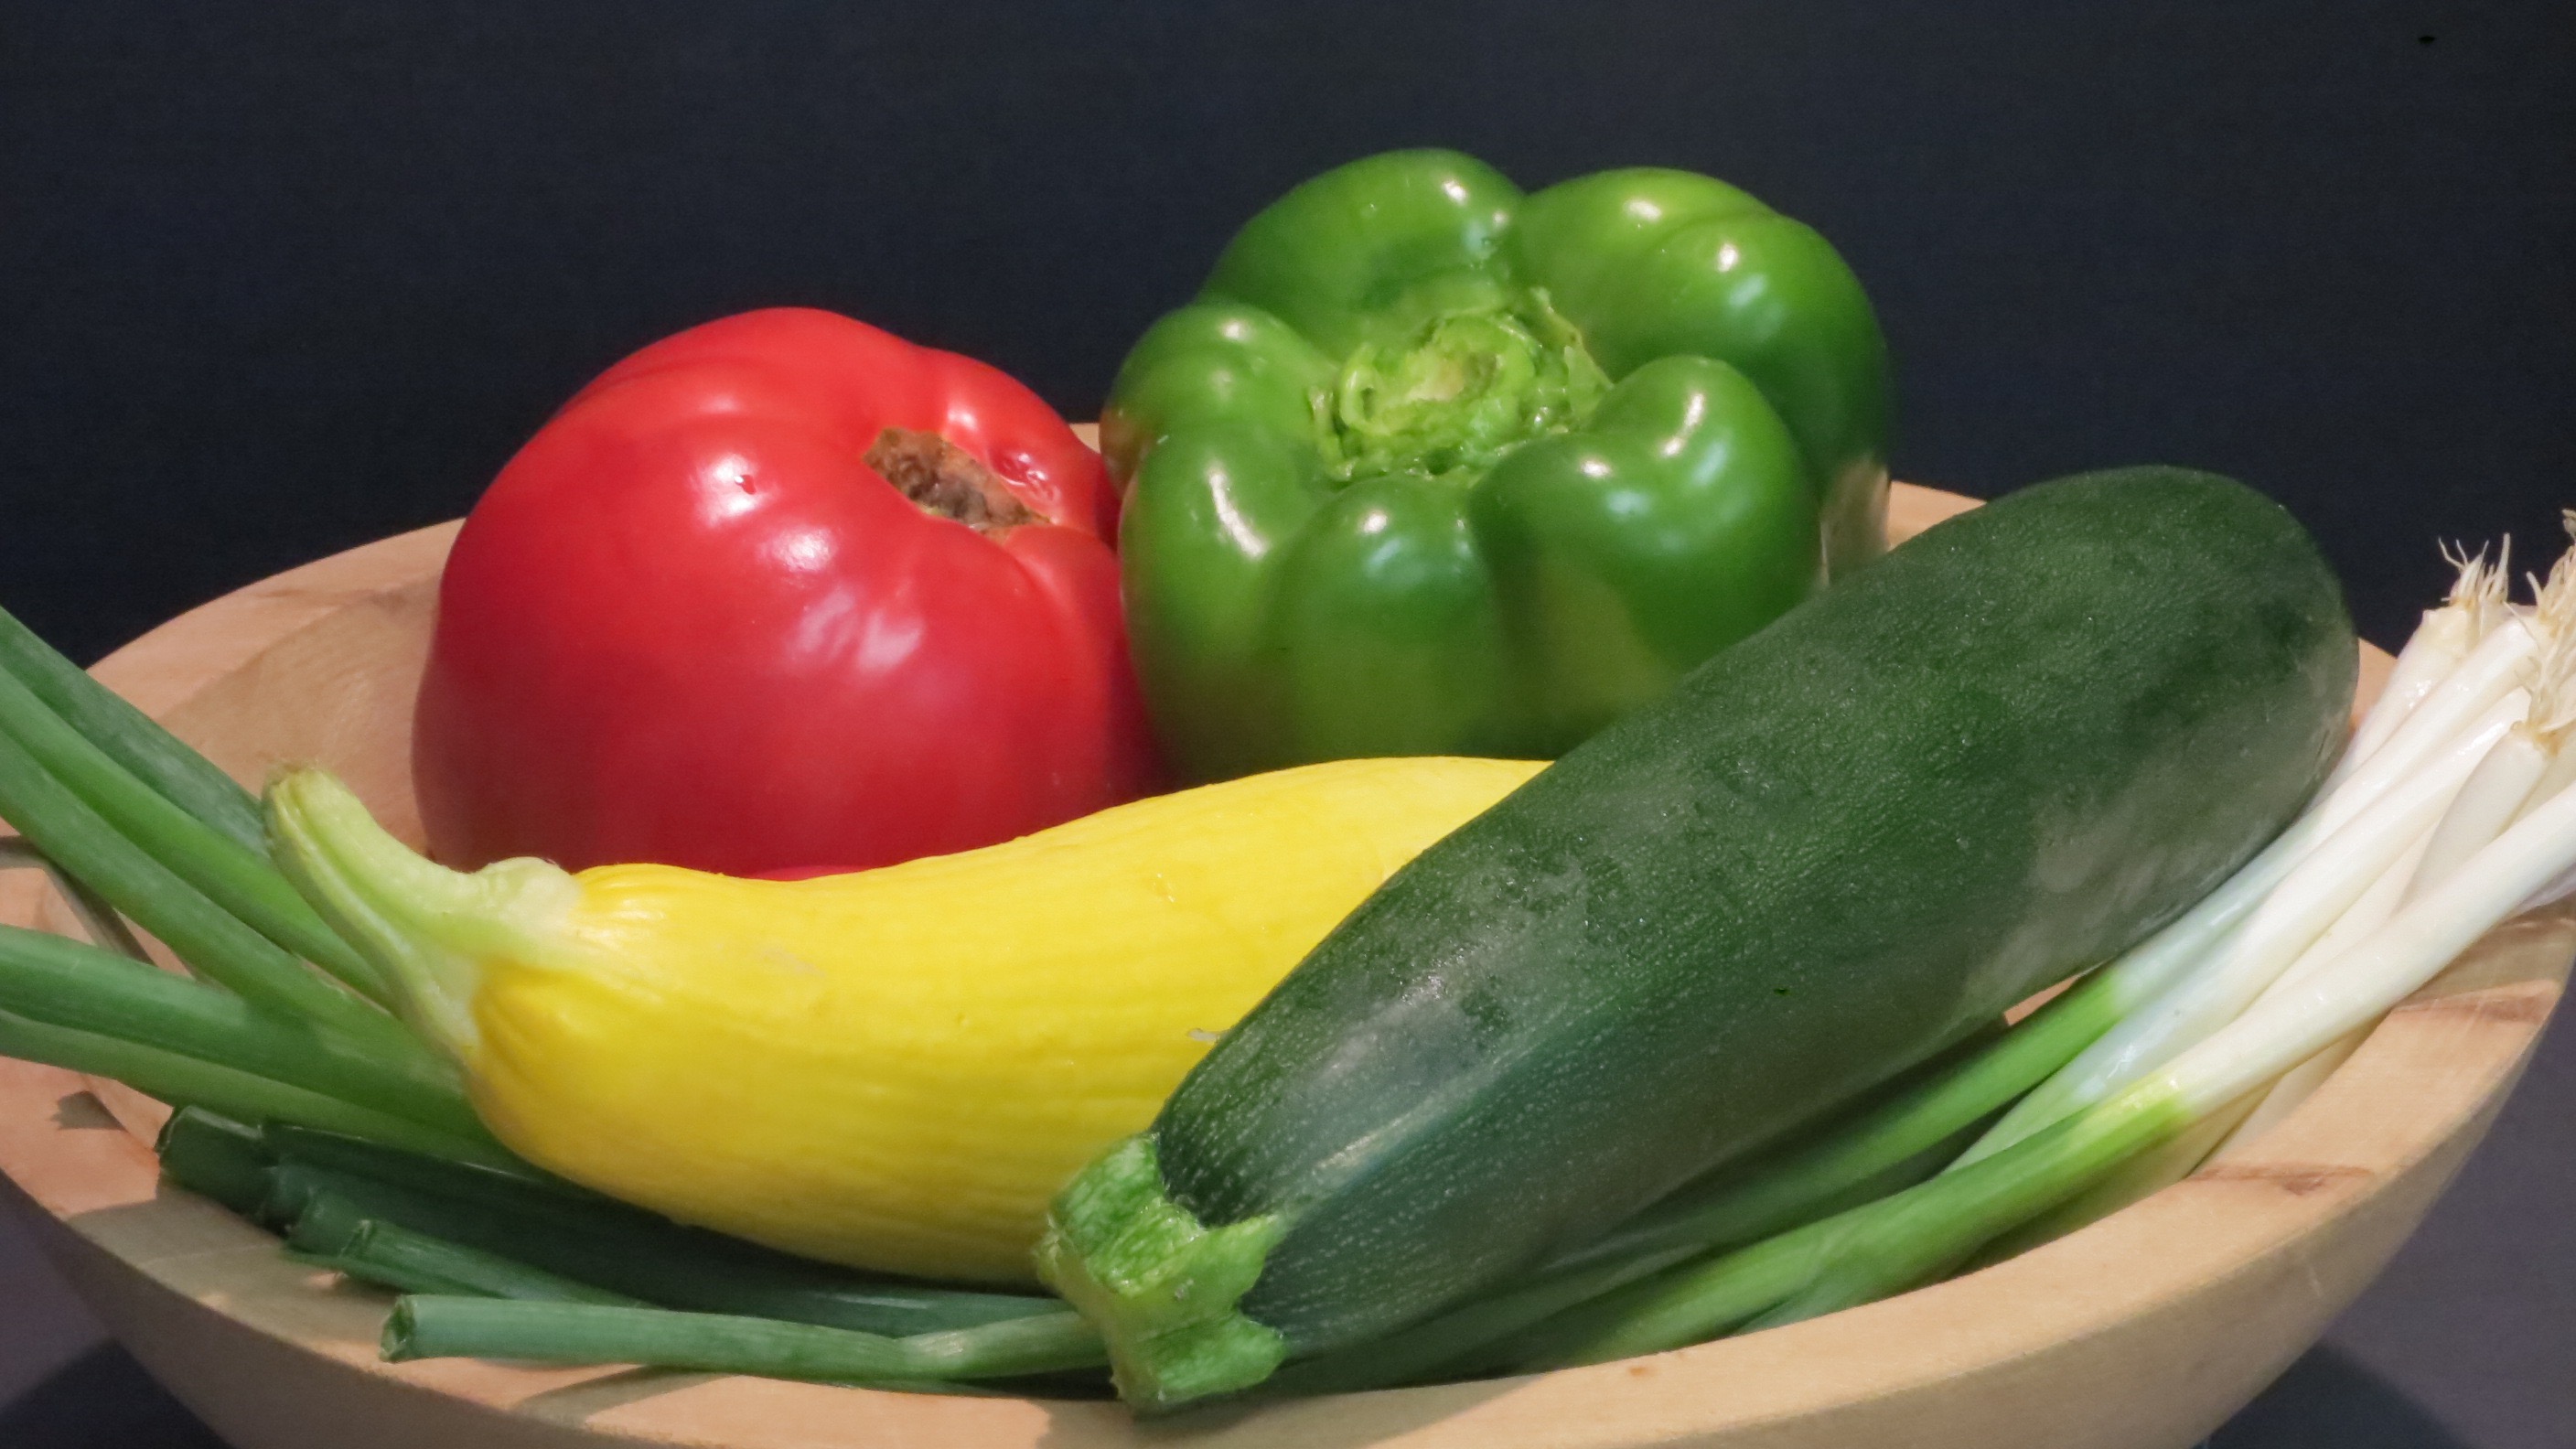
- 1 1/4 cups organic canned pumpkin puree
- 3/4 cup Ghirardelli semi-sweet chocolate chips
Instructions
- Mix topping ingredients together and set aside.
- Pre-heat oven to 375. Use standing mixer on slowest speed. Do not overbeat at any step.
- Cream oil and sugar. Add eggs and vanilla and beat until just mixed.
- Add flour, baking powder, baking soda, cinnamon, nutmeg, and salt, a little at a time and mix until evenly moistened.
- Add pumpkin puree and mix until just blended. Add chocolate chips and stir with large spoon until evenly distributed throughout the batter.
- Divide mix evenly among 6 extra large greased, floured muffin tins (or use jumbo baking cup papers). Divide topping equally and sprinkle on top of the muffins, about 2 teaspoons each.
- Bake 20-25 minutes in center of oven - until toothpick inserted into center comes out clean, muffins are springy to the touch, and lightly golden brown.
Let rest on cooling rack for five minutes, then enjoy! 🙂
KNR, p. 204 “Chocolate Chip Pumpkin Muffins” Read More »