KNR, p. 34 “Kerrian’s Lamb Stew”
St. Patrick’s Day will be here soon! Time to start gathering the ingredients for the St. Patrick’s Day party! We order the boneless lamb roast from the butcher now, so that he has plenty of time to get it from his distributor.
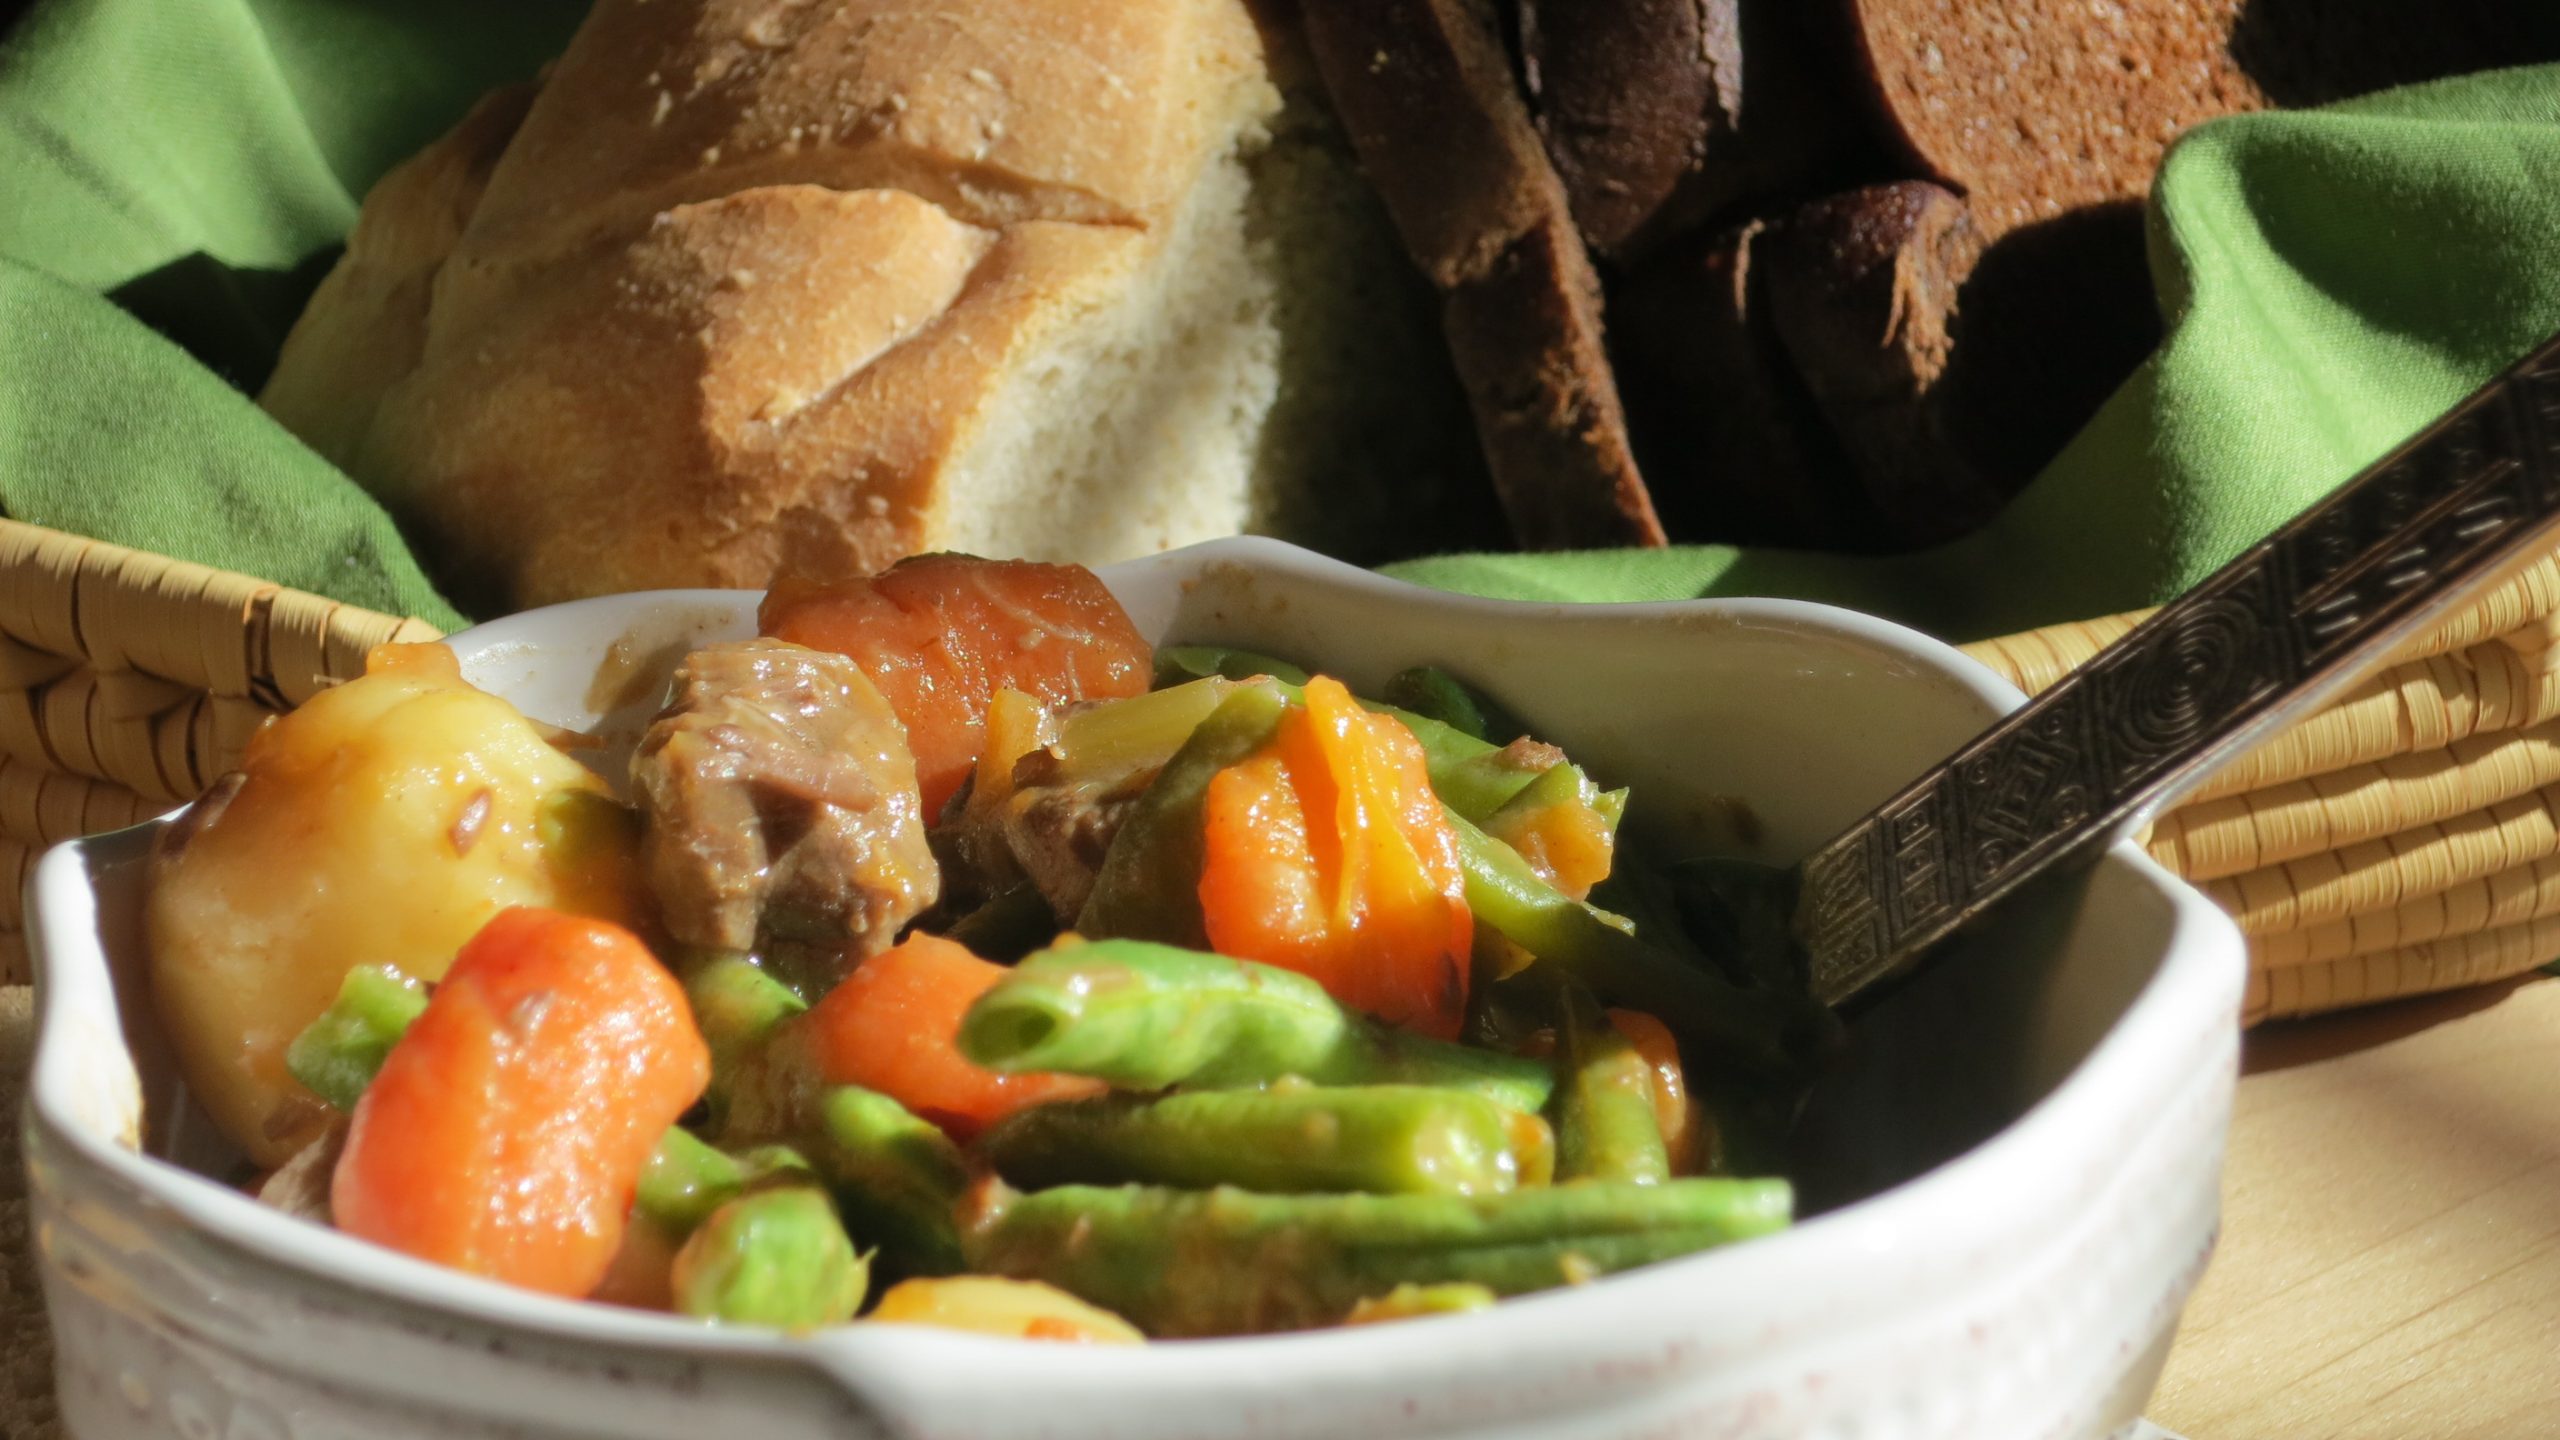
Kerrian's Favorite Lamb Stew
Author: Charlie Kerrian
Cook time:
Total time:
Serves: 4-6
Ingredients
- 3 Tablespoons olive oil
- 1 1/2 teaspoons sea salt
- 1 teaspoon onion powder
- 2 1/4 pounds boneless leg of lamb, cut into one inch cubes
- 2 Tablespoons Worcestershire sauce
- 1 Tablespoon A-1 sauce
- 1 Tablespoon all-purpose flour from flour shaker
- 4 cups organic chicken broth
- 1 cup celery, chopped
- 2 cups baby carrots, peeled
- 3-4 red bliss potatoes, peeled, cut into 2 inch chunks (about 2 cups)
- 1 cup fresh green beans, trimmed, cut into 1-2 inch pieces
- Another Tablespoon flour if needed
- Optional: ¼ cup barley (for an authentic Irish flavor)
Instructions
- Use 4-6 quart pot with lid.
- Warm olive oil in pot over medium heat, add sea salt and onion powder, stir.
- Place lamb cubes in the oil and sauté until brown on all sides, about 10 minutes. Add Worcestershire and A-1 sauces and stir, coating the meat. Sprinkle the flour over the mixture and stir, coating the meat.
- Add organic chicken broth and celery and stir. Place lid on pot and cook until celery is translucent, about 20 minutes.
- Add carrots and potatoes and stir. Add green beans and stir. (If adding barley, this is the time).
- Lower heat to low. Replace lid and cook until tender, another 60-65 minutes, stirring occasionally, adding more flour for thickening if necessary or thicken with mashed potatoes.
- Serve with traditional Irish brown bread.
If you love lamb as we do, this is a go-to stew. The recipe works with other meats, too, but our favorite version is with lamb.
Enjoy!
KNR, p. 34 “Kerrian’s Lamb Stew” Read More »